
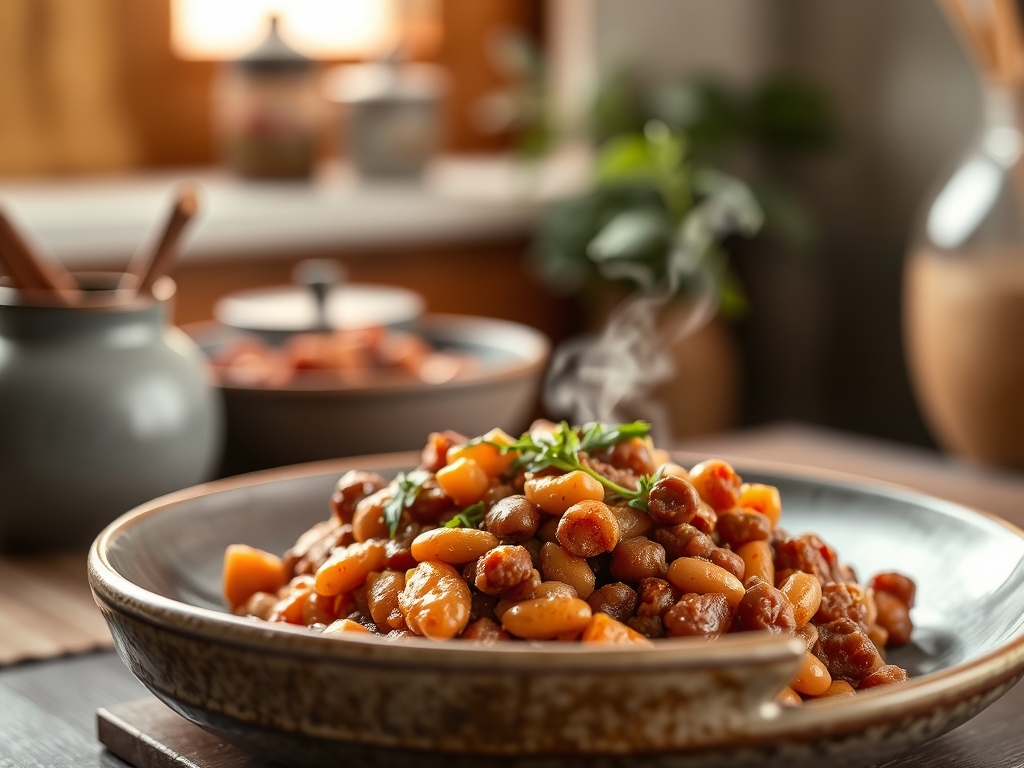
Imagine the smell of a heavy-bottomed skillet sizzling on the stove. The scent of rendering fat meets the sweet, molasses-heavy aroma of slow-simmered legumes. This is the ultimate comfort zone. Mastering baked beans and ground beef recipes is not just about a quick dinner; it is about manipulating sugars and proteins to create a dish that feels like a warm hug.
The magic happens when the piquant acidity of the beans balances the savory depth of the beef. Most people view this as a simple pantry dump, but we are going to treat it like a chemistry lab. We are talking about achieving the perfect viscous consistency where every bean is coated in a glossy, savory glaze. Whether you are prepping for a backyard bash or a cozy Tuesday night, these seven hacks will transform your humble cans into a gourmet masterpiece. Let us get into the science of why this combination works so well and how you can elevate it with professional techniques.
The Gathers:
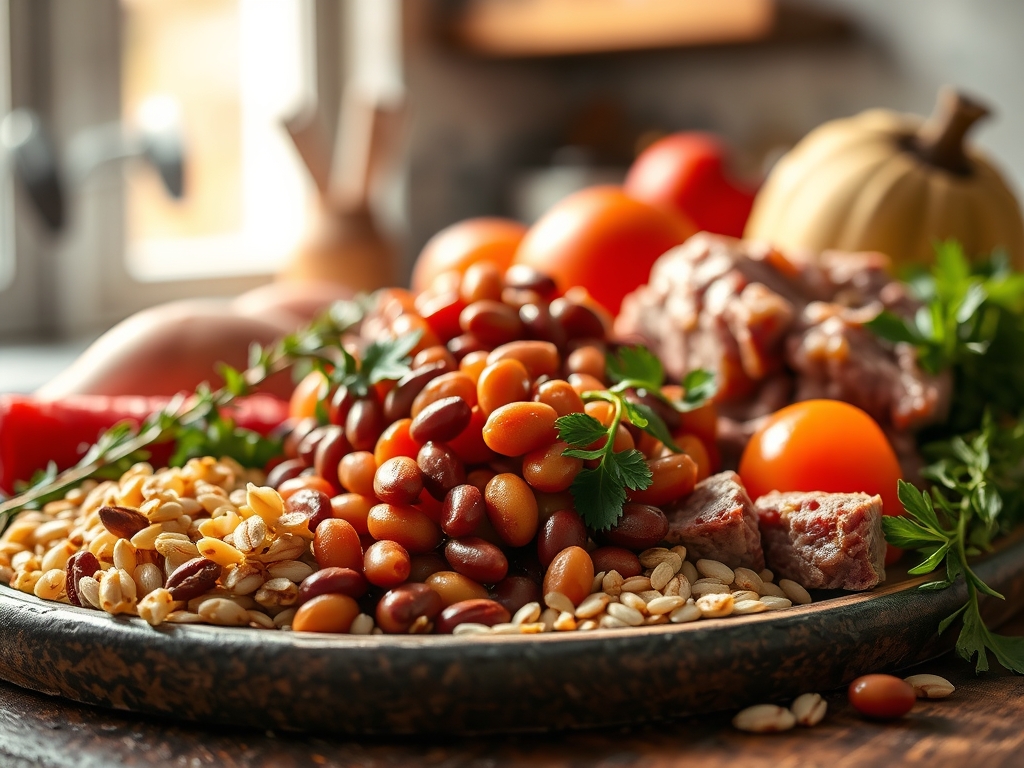
To execute these baked beans and ground beef recipes with precision, your mise-en-place must be flawless. Start with high-quality ground chuck, ideally an 80/20 lean-to-fat ratio. This specific ratio ensures enough lipid content to emulsify with the bean liquor without leaving a greasy film on the palate. You will need a digital scale to measure exactly one pound of beef and two 28-ounce cans of your preferred navy beans.
For the aromatics, reach for a sharp chef knife and a bench scraper to gather finely diced Vidalia onions and bell peppers. The sugars in Vidalia onions caramelize faster, enhancing the Maillard reaction. You will also need liquid smoke, Worcestershire sauce, and dry mustard. If you want to elevate the flavor profile, use a microplane to zest a hint of fresh garlic directly into the pot during the final simmer.
Smart Substitutions: If you are watching your sodium, swap one can of pre-seasoned beans for plain pinto beans rinsed in a colander. This allows you to control the salinity while maintaining the structural integrity of the dish. For a deeper, more complex sweetness, substitute white sugar with dark muscovado sugar; the high molasses content adds a smoky, earthy undertone that refined sugars simply cannot replicate.
The Clock: Timing the Maillard Magic
Efficiency in the kitchen is all about the "Chef's Flow." Total active prep time for these recipes is approximately 15 minutes, with a 30-minute simmer period. However, the real work happens in the first five minutes. You must render the beef over medium-high heat until it reaches a deep mahogany brown. This is not just for color; it creates the flavor base for the entire pot.
Once the beef is browned, the "flow" dictates that you deglaze the pan immediately. This lifts the fond, those delicious caramelized bits stuck to the bottom, and integrates them into the sauce. The 30-minute simmer is non-negotiable. It allows the starches in the beans to partially break down, thickening the liquid into a rich, velvet-like sauce. If you rush this process, you end up with a watery mess rather than a cohesive stew.

The Masterclass:
1. The Sear and Render
Place your ground beef in a preheated heavy-bottomed skillet. Use a wooden spoon to break the meat into small, uniform crumbles. Do not crowd the pan; if the meat steams instead of searing, you lose the chance for enzymatic browning. Cook until no pink remains and the edges are crispy.
Pro Tip: This is the stage of lipid extraction. By rendering the fat fully, you create a medium that carries fat-soluble flavor compounds from your spices more effectively throughout the dish.
2. The Aromatic Infusion
Push the beef to one side of the skillet and add your onions and peppers. Use the rendered beef fat to sauté the vegetables until they are translucent. This is called sweating, which draws out the moisture and concentrates the natural sugars in the vegetables.
Pro Tip: Adding a pinch of salt here uses osmosis to draw water out of the cell walls of the onions, speeding up the softening process without burning them.
3. Deglazing the Fond
Pour in a splash of apple cider vinegar or beef stock. Use your spoon to scrape the bottom of the pan vigorously. Those brown bits are concentrated umami. Once the liquid has reduced by half, you have created a flavor concentrate that will anchor your baked beans and ground beef recipes.
Pro Tip: Deglazing is a chemical process where the acidity of the liquid breaks the bonds between the caramelized proteins and the metal surface of your pan.
4. The Bean Integration
Add your beans and their liquid to the skillet. If the mixture looks too thick, add a quarter cup of water or coffee. Yes, coffee! The bitterness of a dark roast offsets the cloying sweetness of commercial baked beans, adding a sophisticated layer of flavor.
Pro Tip: This stage involves starch gelatinization. As the beans heat, the starch granules swell and burst, naturally thickening the surrounding liquid without the need for flour or cornstarch.
5. The Low and Slow Simmer
Reduce the heat to low. You want a gentle "smile" on the surface, which means small bubbles breaking occasionally. Cover the pot partially to allow some steam to escape, which concentrates the sauce further.
Pro Tip: Maintaining a low temperature prevents thermal shock, which can cause the bean skins to split and turn the dish into a mushy paste.
6. The Acid Balance
Just before serving, stir in a teaspoon of yellow mustard or a squeeze of fresh lime. This late-stage addition of acid "wakes up" the palate and cuts through the richness of the beef fat and sugar.
Pro Tip: Adding acid at the end is a technique called flavor brightening. It balances the pH levels of the dish, making the savory notes pop.
7. The Resting Period
Remove the pan from the heat and let it sit for five minutes. This allows the proteins to relax and the sauce to set. If you serve it piping hot, the flavors will feel disjointed.
Pro Tip: This utilizes thermal carryover. Even off the heat, the internal energy continues to meld the flavors, ensuring every bite is consistent.
The Deep Dive:
From a macro perspective, this dish is a powerhouse of protein and complex carbohydrates. A standard serving provides approximately 25 grams of protein and 8 grams of fiber. To make this keto-friendly, swap the baked beans for black soybeans and use a sugar-free BBQ sauce. For a vegan version, use a plant-based crumble and add a teaspoon of smoked paprika to mimic the "meaty" depth.
The Fix-It:
- Too Salty? Add a peeled, halved potato to the pot and simmer for ten minutes; the potato acts as a sponge for excess sodium.
- Too Thin? Mash a half-cup of the beans against the side of the pot and stir them back in to act as a natural thickener.
- Too Sweet? Increase the acidity with more vinegar or add a pinch of cayenne pepper to distract the taste buds.
For meal prep, this dish is actually better on day two. When reheating, add a tablespoon of water to the container before microwaving or heating on the stove. This replaces the moisture lost during refrigeration and prevents the sauce from becoming "gummy."
The Wrap-Up:
You are now officially a pro at navigating baked beans and ground beef recipes. By focusing on the science of the sear and the patience of the simmer, you have turned a pantry staple into a culinary event. Remember, cooking is about intuition backed by technique. Use your heavy-bottomed skillet with pride and do not be afraid to experiment with your aromatics. Now, grab a bowl, pull up a chair, and enjoy the fruits of your scientific labor!
The Kitchen Table:
Can I make this in a slow cooker?
Yes. Brown the beef and sauté the aromatics in a skillet first to ensure flavor development. Transfer everything to the slow cooker and heat on low for four hours to allow the sauce to thicken and the flavors to meld.
What is the best beef for beans?
An 80/20 ground chuck is ideal. The fat content provides essential moisture and flavor, which emulsifies with the bean sugars to create a silky, rich sauce that leaner grinds cannot achieve.
How long do leftovers stay fresh?
Store leftovers in an airtight container in the refrigerator for up to four days. For longer storage, these recipes freeze beautifully for up to three months. Thaw in the fridge overnight before reheating.
Why are my beans still hard?
If using canned beans, they are already cooked. However, if you add too much acid (like vinegar) too early, it can toughen the bean skins. Always add your acidic components toward the end of the simmering process.