
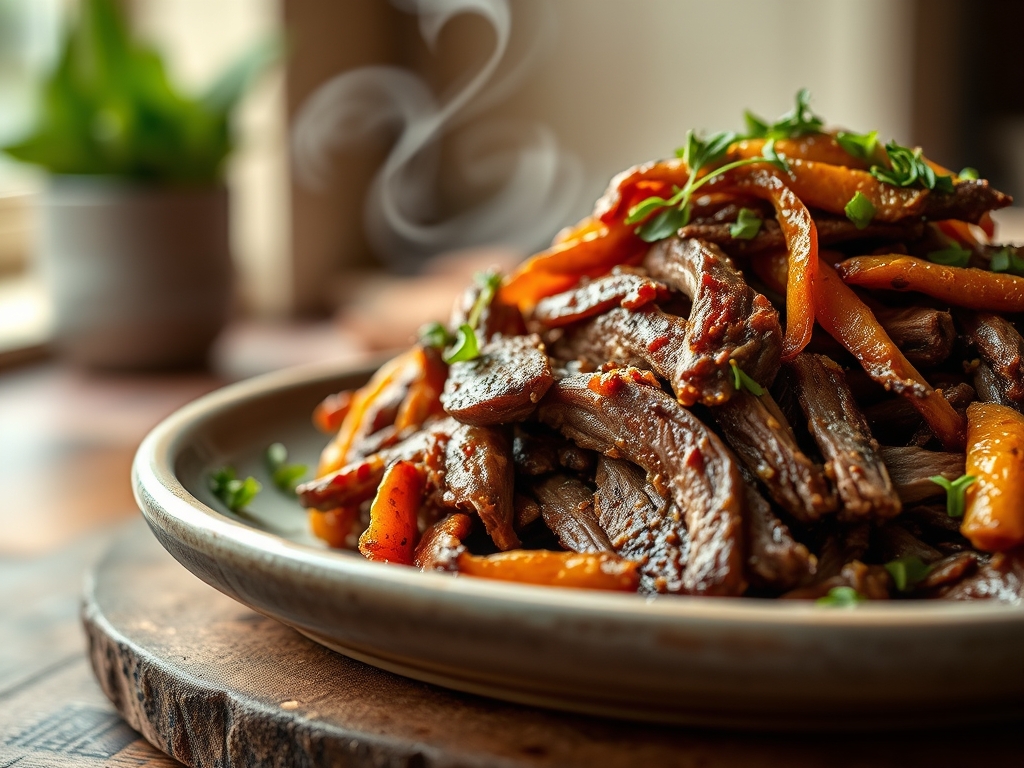
Imagine a kitchen filled with the intoxicating scent of slow-simmered garlic and rendered fat. You pull a heavy lid aside to find a glistening mountain of meat that collapses under the mere suggestion of a fork. This is the holy grail of comfort food. While many home cooks struggle with dry or stringy results, mastering the best pulled roast beef recipes is actually an exercise in molecular patience and heat management. You are not just cooking dinner; you are orchestrating a transformation of tough connective tissue into silk.
The secret lies in understanding that beef is a complex matrix of water, protein, and collagen. To achieve that buttery, melt-in-your-mouth texture, we have to navigate the delicate balance between moisture loss and fat rendering. It is a game of physics and chemistry played out in a heavy-bottomed skillet and a low-temperature oven. Whether you are prepping for a Sunday feast or looking to upgrade your weeknight sandwich game, these six secrets will turn you into the undisputed master of the roast. Grab your apron and a glass of wine; we are about to turn cheap cuts into culinary gold.
The Gathers:
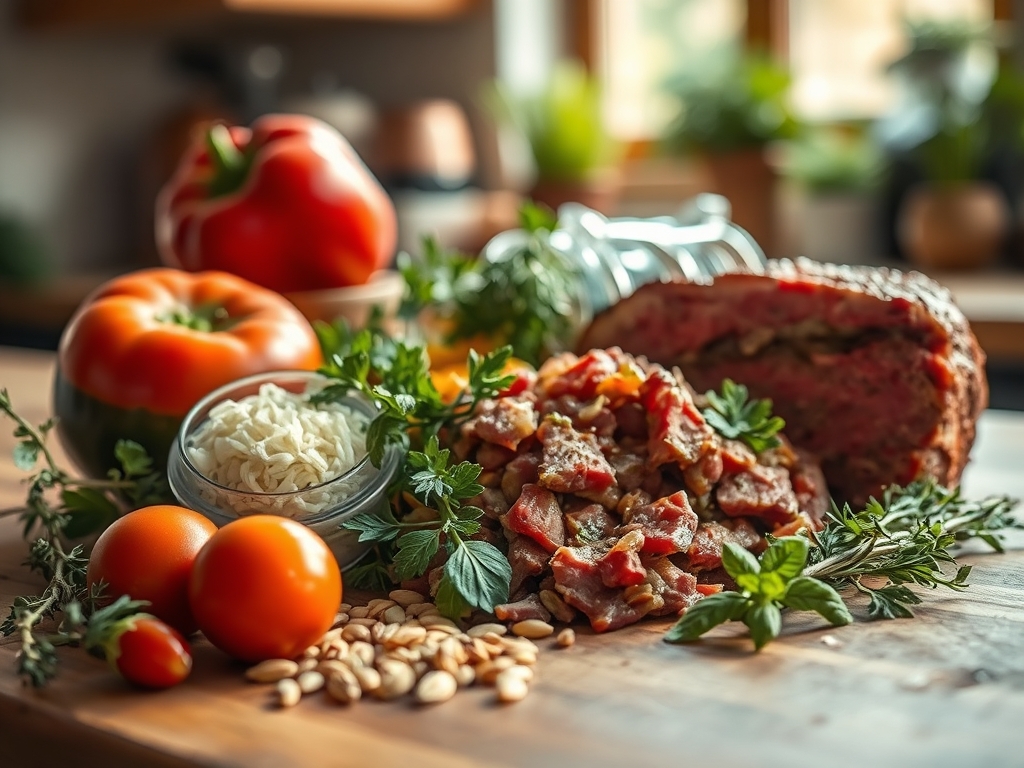
To begin your journey into pulled roast beef recipes, you must select the right canvas. You want a Chuck Roast or a Bottom Round. These cuts are high in intramuscular fat and collagen. Avoid lean cuts like tenderloin; they lack the structural integrity to survive a long braise without turning into sawdust. Use a digital scale to ensure your roast is exactly the weight your recipe calls for, as surface area significantly impacts cooking time.
Your mise-en-place should include a high-quality sea salt and freshly cracked black pepper. Salt acts as a denaturant, breaking down protein structures before the heat even hits. You will also need aromatic foundations: yellow onions for sweetness, garlic for depth, and a viscous liquid like beef bone broth or a dry red wine for deglazing. A splash of apple cider vinegar or Worcestershire sauce adds a piquant acidity that cuts through the richness of the rendered fat.
Smart Substitutions: If you are avoiding alcohol, swap the red wine for a mixture of beef stock and a tablespoon of balsamic vinegar. For a deeper umami punch without extra sodium, add a teaspoon of mushroom powder or a small amount of tomato paste to your aromatics. If you cannot find a chuck roast, a brisket point is an excellent, albeit fattier, alternative that responds beautifully to the same low-and-slow treatment.
The Clock
Efficiency in the kitchen is all about the Chef's Flow. You should spend roughly 20 minutes on active prep. This includes searing the meat and sautéing your aromatics. Once the pot is in the oven, the "passive phase" begins, lasting anywhere from 3 to 5 hours depending on the size of your roast.
The goal is to reach an internal temperature of 205 degrees Fahrenheit. This is the magic number where collagen officially converts into gelatin. Never rush this process by cranking up the heat. High heat causes muscle fibers to contract violently, squeezing out moisture like a wrung-out sponge. Slow, steady thermal energy is your best friend.
The Masterclass
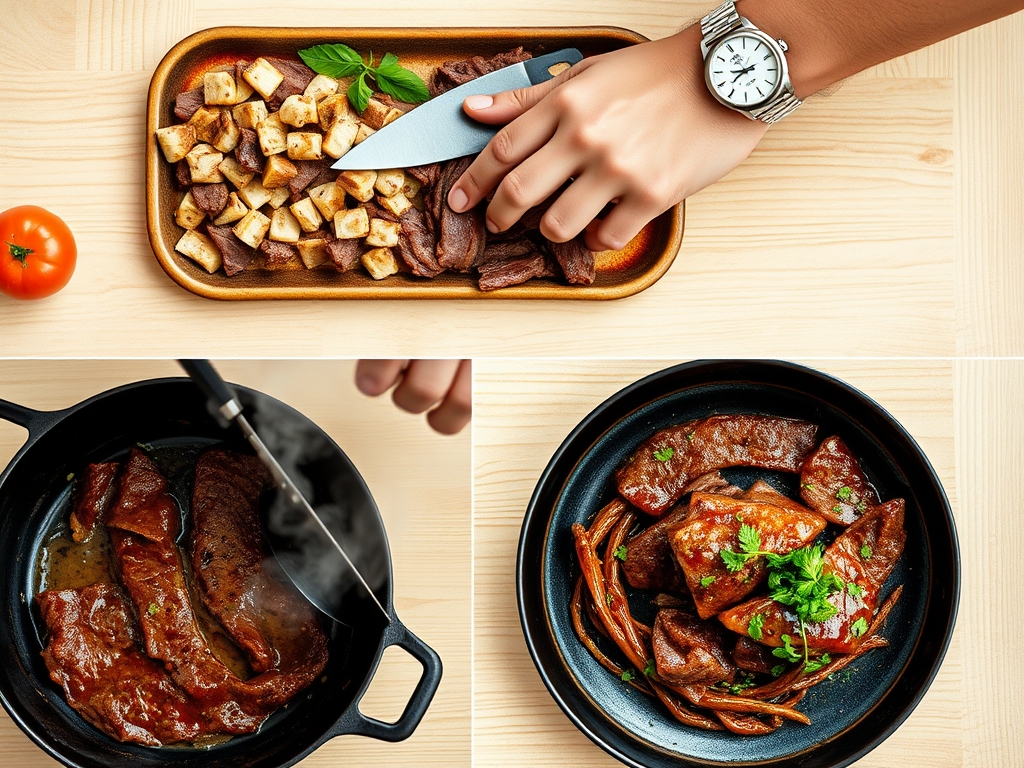
1. The Pre-Sear Ritual
Pat your beef completely dry with paper towels. Use a heavy-bottomed skillet or a Dutch oven over medium-high heat. Add a high-smoke-point oil and sear every side of the meat until a deep, mahogany crust forms. This is not just for color; it is the Maillard reaction in action.
Pro Tip: This chemical reaction occurs between amino acids and reducing sugars. It creates hundreds of different flavor compounds that cannot be replicated through boiling or steaming alone.
2. Deglazing the Fond
Once the meat is seared and removed, you will see brown bits stuck to the bottom of the pan. This is called "fond." Pour in your wine or stock and use a wooden spoon or bench scraper to lift those bits.
Pro Tip: Deglazing captures concentrated beef essence. If you skip this, you are leaving the most intense flavor profile of the dish at the bottom of the pan.
3. The Low and Slow Braise
Return the beef to the pot and add enough liquid to come halfway up the sides. Cover with a tight-fitting lid. If your lid is loose, place a piece of parchment paper between the pot and the lid to create a better seal.
Pro Tip: This creates a pressurized steam environment. The liquid prevents the surface of the meat from drying out while the internal temperature slowly climbs to the collagen-melting point.
4. The Rest and Temper
Once the meat is tender, do not shred it immediately. Move the roast to a cutting board and let it rest for at least 20 minutes.
Pro Tip: This allows for thermal carryover. As the meat rests, the internal pressure drops, allowing the muscle fibers to reabsorb the juices rather than letting them spill out onto the board.
5. The Shredding Technique
Use two large forks or specialized meat claws to pull the beef apart along the natural grain. It should offer almost no resistance.
Pro Tip: Shredding while the meat is warm ensures the fat is still in a liquid state, which helps coat every fiber in a glossy, flavorful sheen.
6. The Final Emulsification
Take the leftover braising liquid and run it through a fine-mesh strainer into a saucier. Simmer it until it reduces by half, then toss the shredded beef back into this concentrated jus.
Pro Tip: Reducing the liquid creates a natural emulsion of gelatin and fat, ensuring your pulled roast beef recipes are never dry when served.
The Deep Dive
From a nutritional standpoint, pulled beef is a powerhouse of protein, zinc, and B12. A standard 4-ounce serving contains roughly 250 calories and 28 grams of protein. To keep it Keto-friendly, serve it over cauliflower mash. For a Vegan alternative, you can use the same aromatic braising technique with young green jackfruit, though you will miss the collagen-to-gelatin conversion.
The Fix-It:
- Tough Meat: If it won't shred, it hasn't cooked long enough. Put it back in. Collagen takes time to melt.
- Too Salty: Add a peeled potato to the liquid for the last 20 minutes to absorb excess sodium.
- Greasy Sauce: Use a fat separator or chill the liquid so the fat solidifies on top for easy removal.
Meal Prep: To reheat, always use a splash of beef broth. Microwaving meat without extra moisture will turn it rubbery. Use a low setting on the stove to gently re-liquefy the gelatin for "day-one" quality.
The Wrap-Up
Mastering pulled roast beef recipes is a rite of passage for any serious home cook. It requires a shift in mindset from "cooking fast" to "nurturing flavor." By respecting the science of the Maillard reaction and the patience of the braise, you turn a humble cut of meat into a masterpiece. Remember to use your tools wisely; that Dutch oven and digital thermometer are your greatest allies. Now, go forth and shred!
The Kitchen Table
Which cut of beef is best for shredding?
The beef chuck roast is the gold standard. Its high fat and collagen content ensure the meat stays moist and breaks down into tender shards during a long, slow braising process.
Can I cook this in a slow cooker?
Yes, use the "Low" setting for 8 to 10 hours. Avoid the "High" setting if possible, as the slower temperature rise results in a much more tender and succulent fiber structure.
Why is my roast beef tough after 4 hours?
It likely needs more time. Connective tissue only breaks down once the internal temperature hits 190-205 degrees Fahrenheit. If it resists the fork, give it another thirty to sixty minutes.
How do I store leftovers?
Store the shredded beef submerged in its own braising liquid in an airtight container. This prevents the meat from oxidizing and drying out, keeping it flavorful for up to four days.