
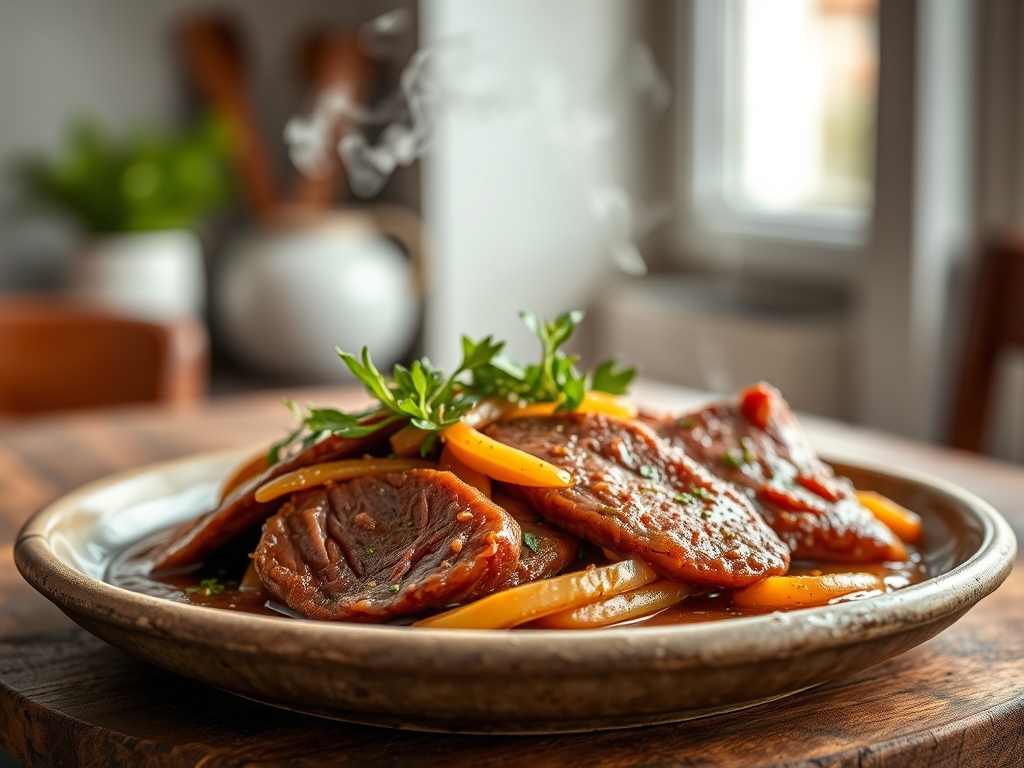
The scent of toasted peppercorns and warm brine is currently dancing through my kitchen; it is the unmistakable perfume of a slow weekend project. If you have been searching for the ultimate corned beef recipes braised to perfection, you are in the right place. We are moving beyond the grey, rubbery slabs of your childhood and entering the realm of fork-tender, ruby-red excellence.
Braising is not just a cooking method; it is a thermal transformation. When we talk about corned beef recipes braised in a heavy-bottomed Dutch oven, we are discussing the long-form breakdown of tough connective tissues into silky gelatin. This process requires patience, a bit of chemistry, and a deep understanding of how salt impacts protein structures. Today, we are going to master the art of the braise, ensuring every slice of your brisket is succulent, seasoned to the core, and structurally sound enough to hold up against a sharp carving knife. Grab your apron and a glass of something cold; we are about to turn a humble cut of meat into a culinary masterpiece.
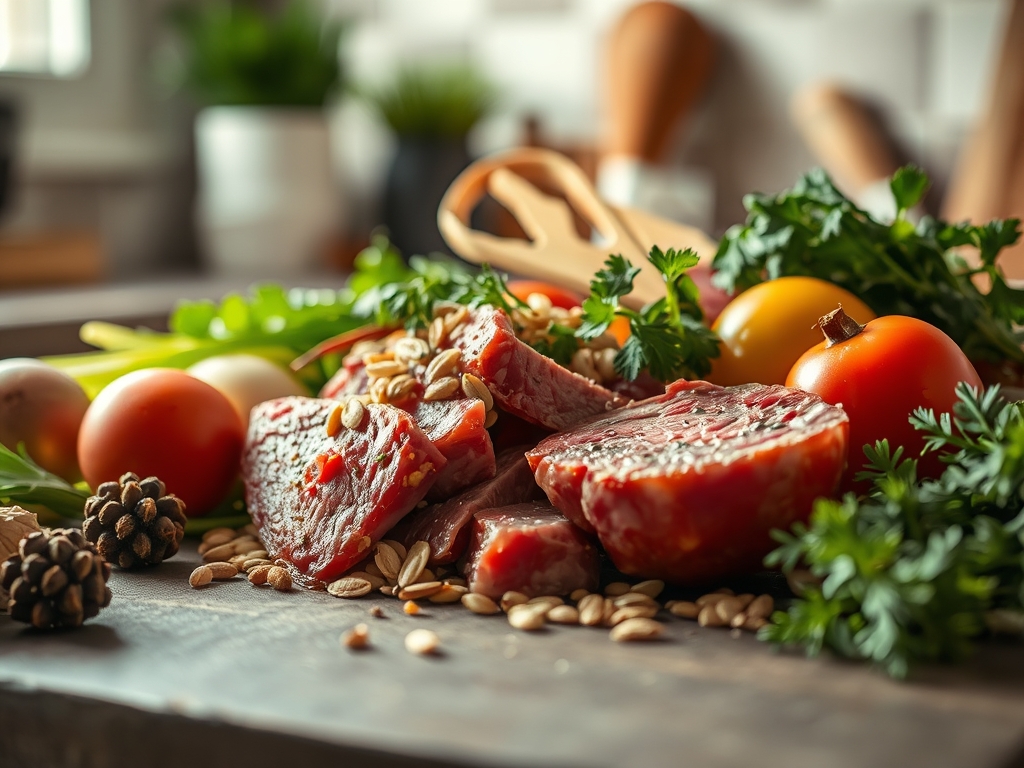
The Gathers:
To achieve a professional-grade result, your mise-en-place must be precise. Start with a four-pound flat-cut brisket, which offers a more uniform thickness than the point cut, ensuring even heat distribution. You will need a digital scale to measure out your aromatics. Gather two large yellow onions, four cloves of garlic, and a bouquet garni of fresh thyme and bay leaves. The liquid component is vital; use a high-quality beef bone broth for a viscous mouthfeel, supplemented by a bottle of dry Irish stout to add a piquant bitterness that cuts through the fat.
For the spice blend, do not just use the packet that comes in the plastic bag. Use a microplane to zest a bit of fresh ginger and add toasted coriander seeds, mustard seeds, and whole cloves. Smart Substitutions: If you are watching your sodium, you can "leach" the brisket by soaking it in cold water for two hours before cooking. If you lack stout, a splash of apple cider vinegar and a tablespoon of molasses will mimic that fermented depth. Always keep a bench scraper handy to organize your chopped mirepoix; it keeps your workspace clean and your workflow efficient.
The Clock
The "Chef's Flow" is all about managing active versus passive time. Your active prep will take approximately thirty minutes. This includes trimming excess fat caps to about a quarter-inch thickness and searing the aromatics. The passive braise is where the magic happens, requiring three to four hours of low-temperature simmering.
Plan for a thirty-minute resting period post-cook. This is non-negotiable. If you slice the meat immediately, the internal pressure will force the juices out, leaving you with dry fibers. Total time from fridge to table is roughly five hours. Use a digital thermometer to monitor the internal temperature; you are aiming for 195 to 205 degrees Fahrenheit for that signature "pull-apart" texture.
The Masterclass
1. The Pre-Soak and Desalination
Place your brisket in a large bowl of filtered water for at least sixty minutes. This draws out excess curing salts that can otherwise overwhelm the palate.
Pro Tip: This relies on osmotic equilibrium. By placing the high-salt meat in low-salt water, you balance the sodium levels, preventing the final braising liquid from becoming an undrinkable salt lick.
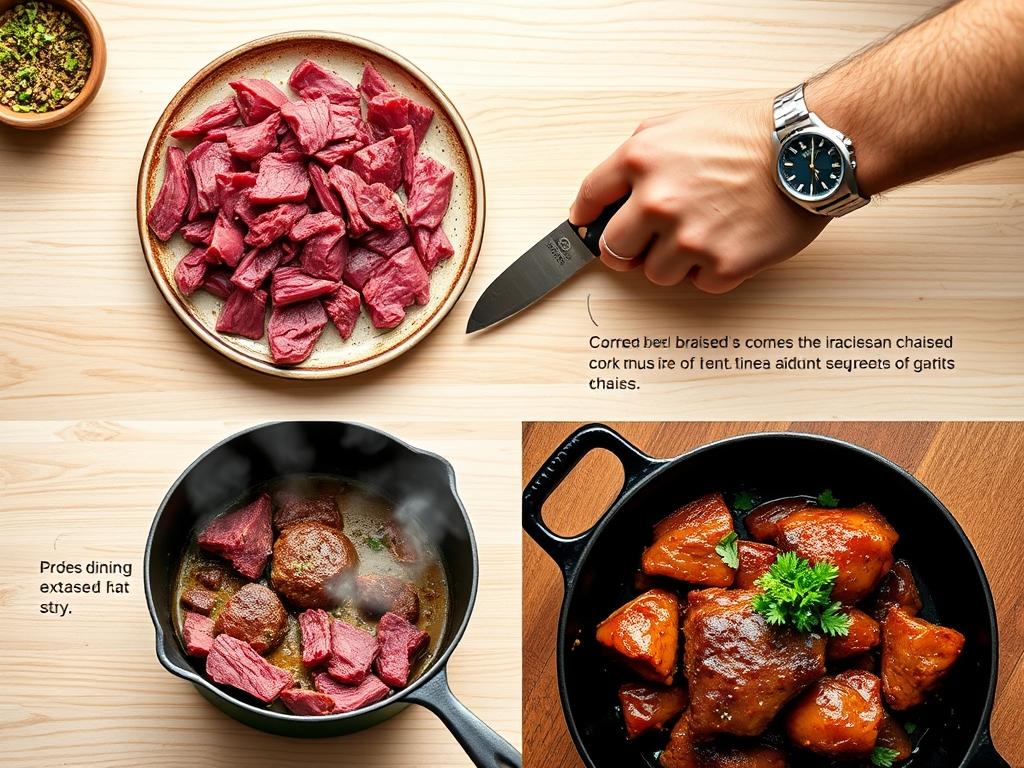
2. Searing the Aromatics
In a heavy-bottomed skillet, sauté your onions and carrots until they develop a deep amber hue. Use tongs to move them frequently to avoid scorching.
Pro Tip: This is the Maillard reaction in action. Creating these melanoidins provides a complex, savory baseline that raw vegetables simply cannot offer.
3. Deglazing the Foundation
Pour your stout into the hot pan, using a wooden spoon to scrape up the browned bits (the fond) from the bottom.
Pro Tip: Alcohol acts as a solvent. It dissolves flavor compounds that water or oil cannot touch, ensuring a more robust and infused sauce profile.
4. The Low and Slow Submersion
Place the brisket in your Dutch oven, cover it halfway with broth, and add your toasted spices. Cover tightly with a lid or foil to trap steam.
Pro Tip: Maintaining a sub-boiling simmer (around 190 degrees) prevents the muscle fibers from tightening too rapidly. This protects the delicate protein matrix from becoming "stringy."
5. The Root Vegetable Addition
Add your potatoes and cabbage during the final forty-five minutes of cooking. This prevents them from turning into a flavorless mush.
Pro Tip: This is about diffusion. The vegetables absorb the seasoned braising liquid while releasing their own sugars, creating a symbiotic flavor exchange.
6. The Glaze Application (Optional)
Remove the meat, brush with a mixture of honey and grain mustard, and blast it in a 400-degree oven for ten minutes.
Pro Tip: This creates a sucrose caramelization on the surface. The contrast between the crispy, sweet exterior and the succulent interior is a hallmark of high-end culinary styling.
7. The Rest and Carve
Transfer the meat to a cutting board and tent it with foil for twenty minutes. Slice against the grain using a long, serrated knife.
Pro Tip: This allows for re-absorption. As the meat cools slightly, the protein fibers relax and pull the juices back into the center of the cut.
The Deep Dive
From a nutritional standpoint, corned beef is a powerhouse of protein and B vitamins, though it is high in sodium. To make this Keto-friendly, simply swap the potatoes for radishes or cauliflower florets; they absorb the brine beautifully. For a Vegan alternative, use large wedges of "corned" cabbage or seitan, though the cooking time will drop significantly to about forty minutes.
The Fix-It:
- Too Salty: If the final sauce is a salt bomb, drop in a peeled, halved potato for fifteen minutes; it acts as a sponge.
- Tough Meat: If it is still chewy, it simply hasn't cooked long enough. Put it back in. The collagen hasn't fully converted to gelatin yet.
- Greasy Sauce: Use a saucier or a fat separator to remove the top layer of oil. You can also chill the liquid; the fat will solidify for easy removal.
Meal Prep Science: To reheat, do not use the microwave. Instead, place slices in a shallow pan with a splash of leftover braising liquid. Cover and heat on low. This steams the meat, preventing the fats from oxidizing and creating that "leftover" taste.
The Wrap-Up
Mastering corned beef recipes braised in your own kitchen is a rite of passage for any home cook. It is a lesson in patience, temperature control, and the beautiful science of slow-cooked proteins. When you pull that shimmering, fragrant brisket out of the pot, you aren't just serving dinner; you are serving a labor of love that has been chemically engineered for maximum joy. Now, go grab your carving fork and get to work. Your best friend (and your stomach) will thank you.
The Kitchen Table
How do I fix rubbery corned beef?
Rubbery meat usually means it was boiled too hard or not long enough. Return the brisket to the simmering liquid and continue cooking until the internal temperature reaches 200 degrees Fahrenheit. This allows the tough collagen to finally melt into tender gelatin.
Can I braise corned beef in a slow cooker?
Yes, though a Dutch oven offers better temperature consistency. Set your slow cooker to "Low" for eight to ten hours. Ensure the liquid covers at least half the meat to maintain a moist environment and prevent the top from drying out.
Why do I have to slice against the grain?
Slicing against the grain cuts through the long, tough muscle fibers. By shortening these fibers with your knife, you make the meat significantly easier to chew, resulting in that coveted "melt-in-your-mouth" texture everyone loves in a perfect braise.
How long does leftover braised corned beef last?
Stored in an airtight container with a bit of its natural juices, it will stay fresh for three to four days. For longer storage, freeze slices in vacuum-sealed bags to prevent freezer burn and preserve the delicate moisture levels.