
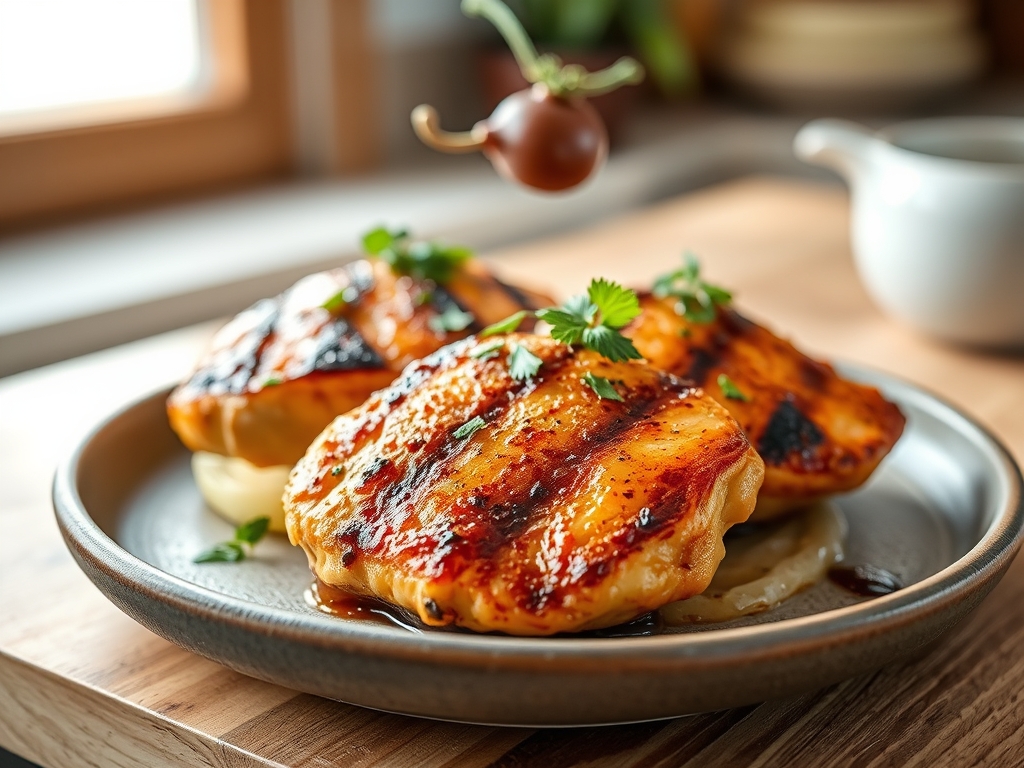
Imagine the scent of caramelized sugars hitting a white-hot grate while the ocean breeze carries a hint of ginger and charred fruit. This is the alchemy of hawaiian grilled chicken recipes; a perfect balance of tropical acidity and savory depth that transforms a simple poultry cut into a culinary masterpiece. It is about more than just a bottle of sauce; it is about mastering the heat and the harvest.
To achieve that iconic, sticky glaze and succulent interior, we have to look past the surface level. We are chasing the Maillard reaction, that glorious chemical dance between amino acids and reducing sugars that creates hundreds of flavor compounds. When you master these hawaiian grilled chicken recipes, you are not just cooking dinner; you are conducting a symphony of thermal physics and flavor chemistry. Grab your favorite apron and let us get into the grit of how we make this happen in your own backyard.
The Gathers:
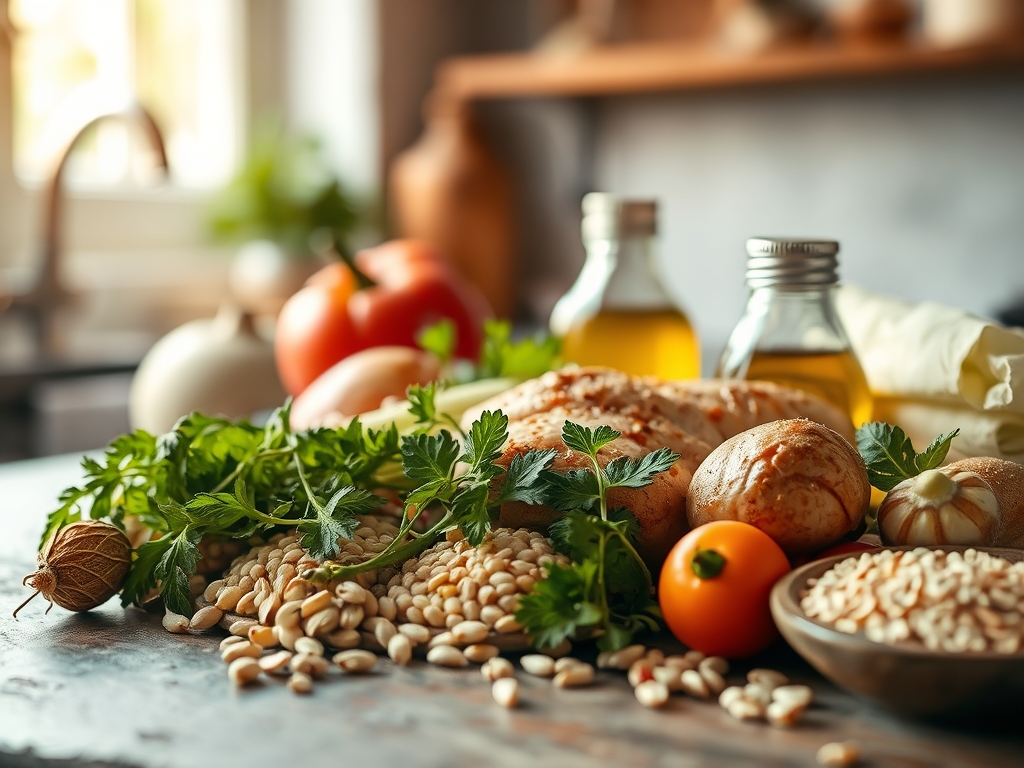
Your mise-en-place is the foundation of your success. Start with boneless, skinless chicken thighs; they possess a higher fat content and more connective tissue than breasts, which means they remain juicy under the intense, direct heat of the grill. You will need a saucier to reduce your marinade into a viscous glaze later.
The aromatic profile requires fresh ginger and garlic. Use a microplane to grate them into a fine paste; this increases the surface area and allows the essential oils to infuse the liquid more effectively. For the base, use a high-quality soy sauce or tamari for that salty umami punch. The sweetness comes from brown sugar and fresh pineapple juice. Note that fresh pineapple contains bromelain, a powerful enzyme that breaks down protein fibers. If you marinate for too long, your chicken will turn to mush. Use canned juice if you want a milder tenderizing effect, as the pasteurization process deactivates the enzyme.
Smart Substitutions: If you are watching your sodium, coconut aminos offer a similar piquant profile with less salt. For the heat, a spoonful of sambal oelek or sriracha adds a modern kick. If you lack a grill, a heavy-bottomed skillet or a cast-iron grill pan will suffice, provided you manage the smoke point of your fats.
The Clock
The "Chef's Flow" is all about timing your transitions so nothing sits idle.
- Prep Time: 20 minutes (slicing, grating, and whisking).
- Marination: 30 minutes to 4 hours (the "Sweet Spot").
- Cook Time: 12 to 15 minutes.
- Resting Time: 5 to 8 minutes.
Total commitment is roughly one hour of active work, but the payoff is eternal. Start by preparing the marinade first. While the chicken undergoes its enzymatic transformation, you can prep your sides or clean your bench scraper. This ensures that when the chicken hits the heat, your focus is entirely on the thermal regulation of the grill.
The Masterclass
1. The Brine and Infusion
Place your chicken in a glass bowl or a heavy-duty zip bag. Pour over the marinade, ensuring every crevice is coated. Use your hands to massage the liquid into the meat, which helps aerate the mixture and ensures even distribution.
Pro Tip: This is the osmotic phase. Salt in the marinade draws moisture into the muscle cells, while the acids begin to denature the surface proteins, allowing flavors to penetrate deeper than a simple surface rub.
2. Tempering the Meat
Remove the chicken from the refrigerator 20 minutes before grilling. Cold meat hitting a hot grate causes the muscle fibers to seize and contract violently, squeezing out precious juices.
Pro Tip: Bringing the meat toward room temperature ensures thermal equilibrium. This allows for a more even cook from the edge to the center, preventing a charred exterior with a raw middle.
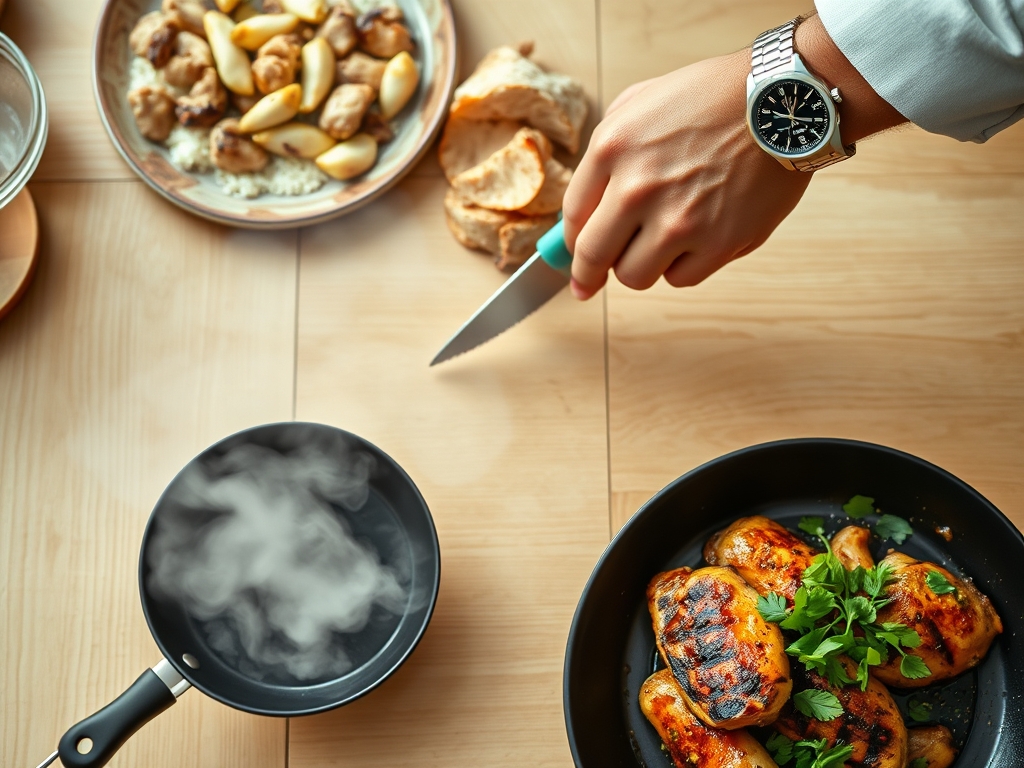
3. Achieving the Perfect Sear
Preheat your grill to medium-high. Clean the grates thoroughly with a wire brush and oil them using a folded paper towel held by tongs. Place the chicken smooth-side down. Do not move it for at least 4 to 5 minutes.
Pro Tip: This is where the Maillard reaction occurs. If you flip too early, you tear the delicate proteins before they have had a chance to render and release naturally from the metal.
4. The Glazing Sequence
During the last 3 minutes of cooking, use a silicone brush to apply the reduced marinade (the glaze you simmered in your saucier). Apply multiple thin layers rather than one thick one.
Pro Tip: This technique is called lacquering. By applying thin layers, you evaporate the water content rapidly, leaving behind a concentrated, sticky veneer of sugar and umami without burning the sauce.
5. Monitoring Internal Temperature
Forget the "finger test" for doneness. Use a digital scale or, more accurately, an instant-read thermometer. You are looking for 165 degrees Fahrenheit.
Pro Tip: Account for thermal carryover. If you pull the chicken at 160 degrees, the residual heat will continue to cook the meat as it rests, bringing it to a perfect, safe 165 degrees without drying it out.
6. The Rest
Transfer the chicken to a warm platter and tent loosely with foil. Do not cut into it immediately.
Pro Tip: Resting allows the internal pressure to stabilize. During cooking, juices move toward the center; resting allows those liquids to reabsorb into the fibers, ensuring a succulent bite every time.
The Deep Dive
Macro Nutrition: One serving of this chicken (approx. 6 oz) yields roughly 35g of protein, 12g of fat, and 15g of carbohydrates (mostly from the sugars in the glaze). It is a high-protein powerhouse that fits well into an active lifestyle.
Dietary Swaps:
- Vegan: Swap chicken for extra-firm tofu or seitan. Press the tofu for 30 minutes first to ensure it absorbs the marinade.
- Keto: Replace brown sugar with a monk fruit sweetener and use pineapple extract instead of juice to cut the carb count.
- GF: Use certified gluten-free tamari or coconut aminos.
The Fix-It:
- Too Salty: Add a splash of rice vinegar or lime juice. The acid cuts through the sodium perception.
- Burnt Exterior: Move the chicken to a "cool zone" (indirect heat) on the grill and close the lid to finish cooking via convection.
- Rubbery Texture: This usually means over-marinating with fresh pineapple. Next time, cut the marination time or use canned juice.
Meal Prep: To maintain "day-one" quality, reheat the chicken in a covered pan with a tablespoon of water or broth. This creates a steam environment that prevents the proteins from becoming leathery in the microwave.
The Wrap-Up
Mastering hawaiian grilled chicken recipes is a rite of passage for any home cook looking to elevate their outdoor game. It is a beautiful marriage of science and soul; where the precision of a digital thermometer meets the rustic charm of an open flame. When you see those deep mahogany grill marks and taste the balance of ginger and char, you will know you have nailed it. Now, get those grates hot and show them what you have learned!
The Kitchen Table
How long should I marinate the chicken?
For the best results, marinate between 30 minutes and 4 hours. Because pineapple contains bromelain enzymes, marinating longer than 6 hours can cause the chicken fibers to break down too much, resulting in a mushy, unappealing texture.
Can I use chicken breasts instead of thighs?
Yes, though breasts dry out faster. To keep them juicy, pound them to an even thickness using a meat mallet. This ensures they cook uniformly and reach the safe internal temperature of 165 degrees Fahrenheit without the edges becoming overdone.
What is the best way to prevent sticking?
Ensure your grill grates are scrupulously clean and well-oiled. Additionally, let the chicken sear undisturbed until it naturally releases from the grate. This indicates the proteins have set and the sugars have begun to caramelize properly.
How do I make the sauce thicker?
Simmer your reserved marinade in a saucier over medium heat. Allow it to reduce by half until it reaches a viscous, syrupy consistency. For an extra-thick glaze, whisk in a small cornstarch slurry during the final minutes of boiling.