
Imagine a texture so ethereal it defies the structural integrity of a root vegetable. We are talking about a crust that shatters like glass, revealing a center that dissolves the moment it hits your tongue. Mastering melting sweet potato recipes is less about cooking and more about a calculated thermal transformation. It is the pinnacle of vegetable side dishes; a sophisticated marriage of caramelization and hydration.
The magic happens when we manipulate the natural starches through high-heat roasting and a strategic liquid finish. Most people treat sweet potatoes like a standard starch, but we are going to treat them like a delicate custard wrapped in a savory armor. This process requires a precise understanding of the Maillard reaction and moisture evaporation. By the time we are finished, you will have a dish that looks like a rustic jewel and tastes like a five-star signature plate.
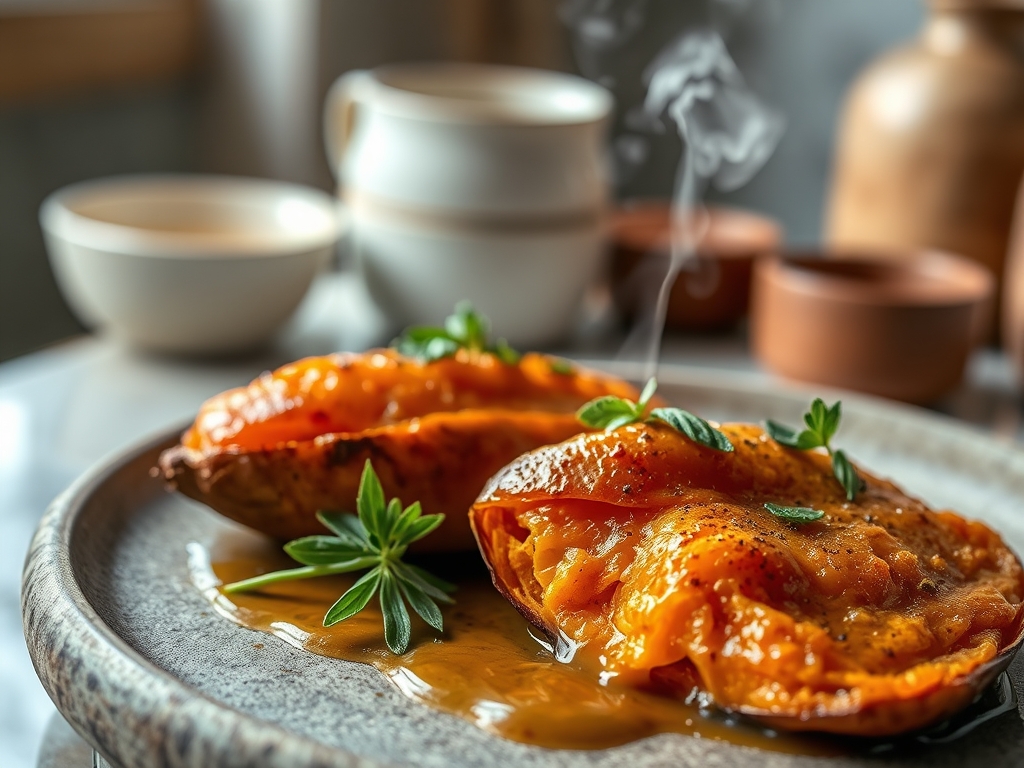
The secret lies in the contrast. You want that deep, mahogany exterior that tastes of toasted marshmallows and earth, paired with an interior that is essentially a velvet puree. It is a sensory journey from crunch to cream. Let us get your mise-en-place ready because this is the only way you will ever want to eat a sweet potato again.
The Gathers:
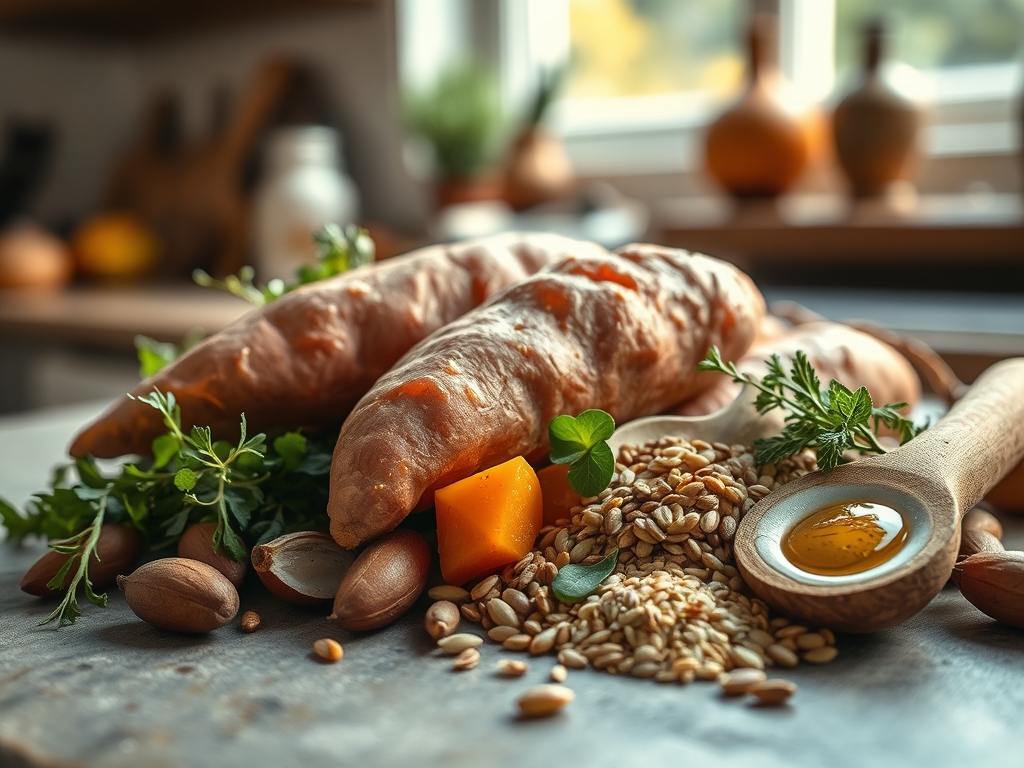
To achieve this level of culinary excellence, your ingredient selection must be intentional. Start with Garnet or Jewel sweet potatoes. These varieties possess the specific moisture content and sugar profile necessary for a viscous interior. Avoid the drier, white-fleshed varieties; they will crumble rather than melt.
You will need a high-quality fat with a high smoke point. Ghee or clarified butter is superior here because the milk solids have been removed, allowing for intense browning without burning. If you are feeling adventurous, rendered duck fat adds a savory depth that is unmatched. For the liquid element, a rich vegetable or chicken bone broth provides the necessary collagen and minerals to create a glossy glaze.
Smart Substitutions: If you are avoiding dairy, a cold-pressed avocado oil works beautifully. For a piquant kick, swap half the broth for a splash of dry sherry or apple cider vinegar to deglaze the pan. Do not skip the aromatics; fresh thyme sprigs and smashed garlic cloves will infuse the fat during the roasting process, elevating the flavor profile from simple to complex.
The Clock
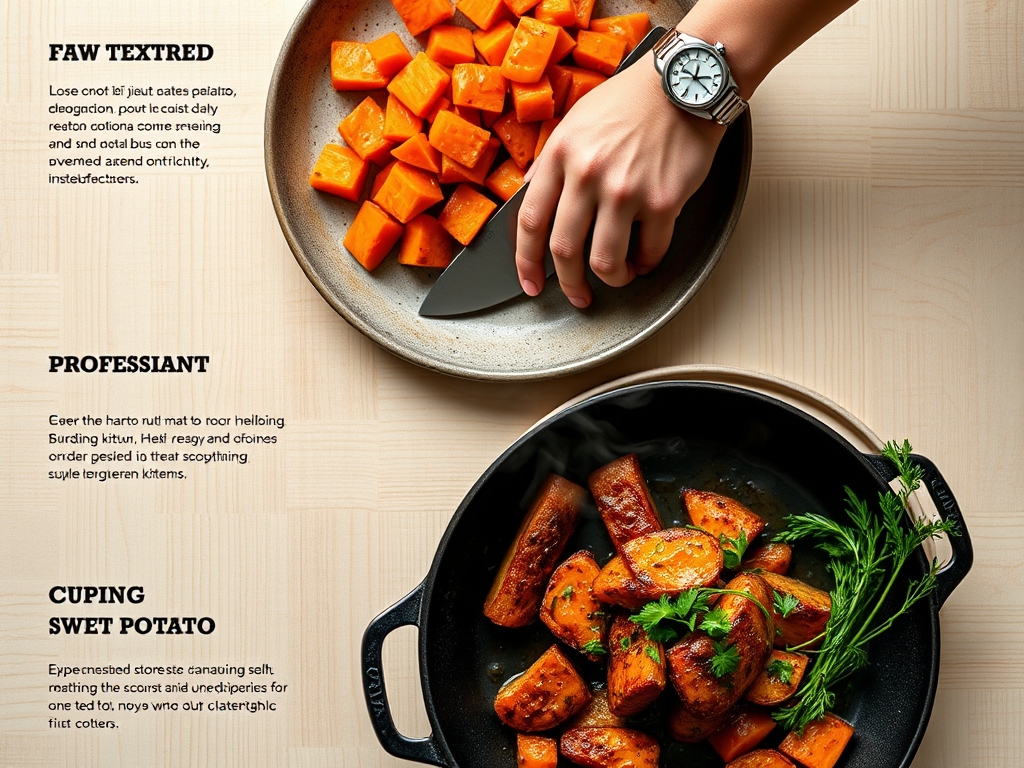
Efficiency in the kitchen is about the Chef's Flow. Expect about 15 minutes of active prep time. This includes scrubbing the skins, peeling, and slicing the potatoes into uniform 1-inch thick rounds. Precision is vital; if your slices vary in thickness, they will cook unevenly, leaving you with some firm centers and some over-browned edges. Use a digital scale if you want to be truly pedantic about portioning.
The roasting phase takes approximately 30 to 40 minutes. You will spend the first 20 minutes at high heat to establish the crust, followed by a 15-minute braise once the liquid is added. Finally, allow for a 5-minute rest period. This resting phase is not optional; it allows the starches to set and the glaze to thicken into a silk-like coating. Total time from pantry to plate is roughly one hour.
The Masterclass
1. The Precision Cut
Peel your potatoes and slice them into thick, even rounds using a sharp chef's knife or a mandoline set to its thickest gauge. Aim for one inch.
Pro Tip: Uniformity ensures consistent thermal conductivity. If the surface area is identical across all pieces, they will reach the gelatinization point of starch at exactly the same time.
2. The Fat Infusion
Toss the rounds in a bowl with your melted ghee, sea salt, and cracked black pepper. Ensure every millimeter of surface area is coated.
Pro Tip: This coating creates a hydrophobic barrier. It prevents the internal moisture from escaping too quickly, which allows the interior to steam in its own juices while the exterior fries.
3. The High-Heat Sear
Arrange the rounds on a heavy-bottomed skillet or a preheated rimmed baking sheet. Do not crowd the pan. Roast at 425 degrees Fahrenheit for 15 minutes.
Pro Tip: Crowding the pan creates steam. You need dry, circulating air to trigger the Maillard reaction, the chemical reaction between amino acids and reducing sugars that creates that savory, browned flavor.
4. The Flip
Use tongs or a bench scraper to carefully flip each round. The bottom should be a deep golden brown. Roast for another 10 minutes.
Pro Tip: Flipping ensures even heat distribution. By rotating the potatoes, you are managing the heat from the pan surface versus the ambient air of the oven.
5. The Deglaze and Braise
Pour your broth and aromatics directly into the hot pan. The liquid should sizzle and immediately begin to reduce. Return to the oven for 15 minutes.
Pro Tip: This step utilizes deglazing to incorporate the fond (browned bits) from the pan back into a sauce. The liquid penetrates the softened starch cells, creating the "melting" texture.
6. The Glaze Reduction
Remove the pan from the oven. If the liquid hasn't fully thickened, use a saucier or small pan to reduce the remaining juices on the stovetop until they are syrupy.
Pro Tip: As water evaporates, the sugars and minerals in the broth become concentrated. This creates a viscous coating that clings to the potato rather than pooling on the plate.
7. The Aromatic Finish
Use a microplane to zest a bit of lemon or orange over the hot potatoes. The residual heat will release the essential oils in the zest.
Pro Tip: This adds a top note of acidity to cut through the richness of the fats, balancing the overall flavor profile through sensory contrast.
8. The Carryover Rest
Let the dish sit for five minutes before serving. This allows the internal temperature to stabilize.
Pro Tip: Thermal carryover means the potatoes continue to cook slightly after leaving the oven. Resting prevents the centers from being too watery when you bite into them.
9. The Final Plating
Transfer the potatoes to a warm platter and spoon the remaining glaze over the top. Garnish with flaky salt.
Pro Tip: Flaky salt provides a final textural element. The large crystals do not dissolve immediately, giving you a sharp pop of flavor that highlights the sweetness of the potato.
The Deep Dive
From a nutritional standpoint, sweet potatoes are a powerhouse of Beta-carotene and fiber. While this recipe uses fats for texture, the glycemic index remains more stable than refined starches due to the complex fiber structure. For a Vegan swap, use coconut oil and vegetable stock. For Keto-adjacent versions, keep portions small and ensure you use a bone broth with zero added sugars.
The Fix-It:
- Soggy Crust: You likely crowded the pan. Next time, use two sheets to ensure air circulation.
- Hard Centers: Your slices were too thick or your oven temperature is running low. Use an oven thermometer to verify.
- Burnt Glaze: The sugar content in your broth was too high. Add a splash of water and whisk vigorously to emulsify the sauce back together.
Meal Prep: To reheat, avoid the microwave. The microwave will turn the crust into rubber. Instead, use an air fryer or a hot skillet to re-crisp the exterior while gently warming the "melted" center. This preserves the "day-one" quality.
The Wrap-Up
Mastering melting sweet potato recipes is a rite of passage for any home cook looking to elevate their vegetable game. It is about understanding that heat is a tool and moisture is a medium. When you combine the two with precision, you transform a humble tuber into a culinary masterpiece. Go ahead and get that skillet screaming hot; your dinner guests are not ready for this level of deliciousness.
The Kitchen Table
Why are my melting sweet potatoes mushy?
Mushiness usually results from overcrowding the pan or using too much liquid too early. Ensure the potatoes have space to roast and develop a structural crust before you add the broth for the braising phase.
Can I use yams instead of sweet potatoes?
In the US, most "yams" are actually sweet potatoes. However, true yams are starchier and drier. For the melting effect, stick to orange-fleshed varieties like Garnet or Jewel to ensure a creamy, velvet-like interior texture.
What is the best pan for melting sweet potatoes?
A heavy-bottomed cast iron skillet or a stainless steel roasting pan is best. These materials hold heat exceptionally well, which is crucial for creating the initial sear and maintaining a consistent simmer during the braising step.
Do I have to peel the sweet potatoes?
Yes. For the "melting" sensation, the skin must be removed. The skin acts as a fibrous barrier that prevents the glaze from penetrating the flesh and interferes with the uniform, soft texture we are aiming to achieve.