
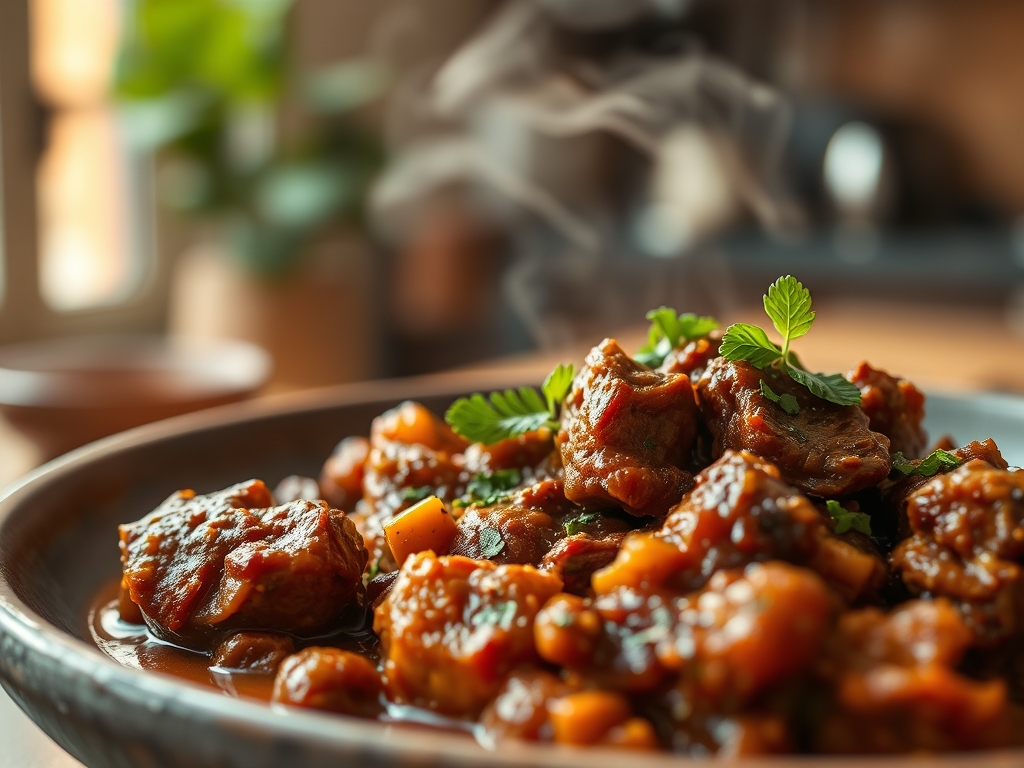
The scent of toasted guajillo chiles and rendered beef fat is more than just a dinner bell; it is a chemical invitation to the soul. When you dive into the world of mexican stew beef recipes, you are not just making a meal; you are orchestrating a complex series of molecular transformations that turn tough connective tissue into buttery perfection. Imagine the steam rising from a heavy-bottomed Dutch oven, carrying notes of earthy cumin and sharp garlic that cling to the air like a warm hug. This is comfort food with a doctorate in flavor. Most people think a great stew is just about time, but I am here to tell you it is about strategy. We are looking for that specific, viscous mouthfeel where the sauce coats the back of a spoon and the beef collapses at the mere suggestion of a fork. Whether you are craving a spicy Birria or a rich Caldillo, the secret lies in the marriage of high-heat searing and low-temperature simmering. Grab your favorite apron and a glass of wine; we are about to turn your kitchen into a high-end taqueria.
The Gathers:
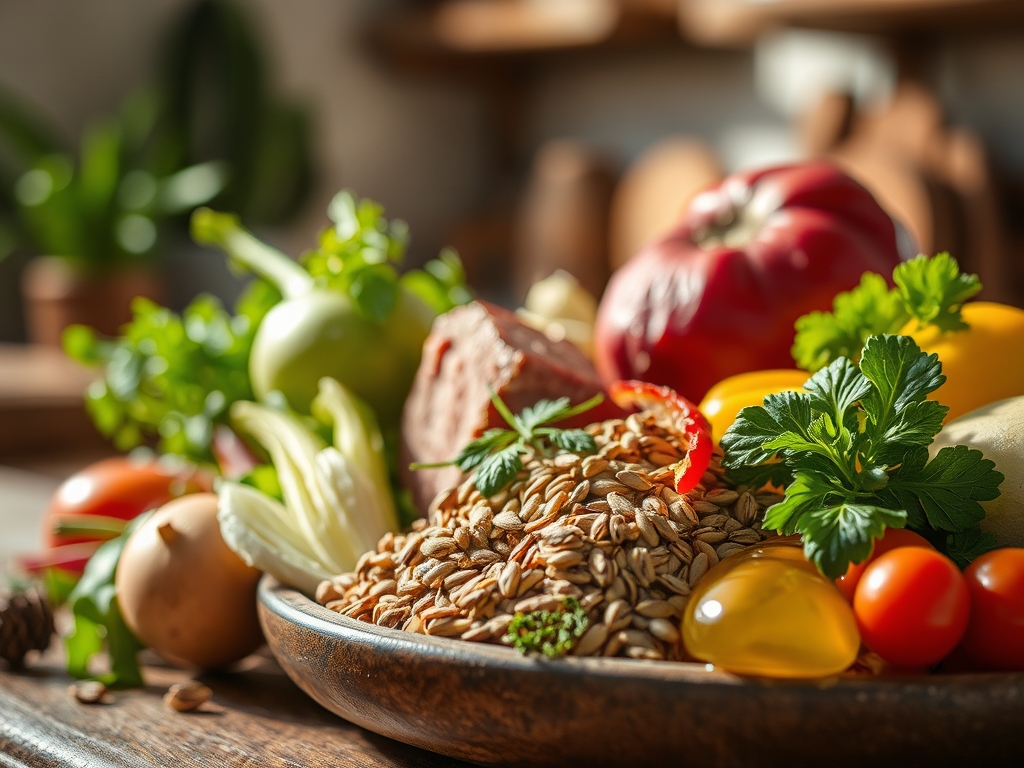
To achieve professional results, your mise-en-place must be precise. Start with three pounds of beef chuck roast, cubed into uniform two-inch pieces using a sharp chef's knife. Chuck is non-negotiable because its high collagen content transforms into gelatin during the braise. For the aromatics, gather white onions, a head of garlic, and a trio of dried chiles: Guajillo for color, Ancho for sweetness, and Arbol for heat. You will also need high-quality beef bone broth, Mexican oregano (which is more citrusy than Mediterranean varieties), and a stick of cinnamon to provide a subtle, piquant undertone.
Smart Substitutions: If you cannot find dried chiles, a high-quality chipotle in adobo provides a smoky shortcut. For those avoiding nightshades, a blend of smoked paprika and roasted beets can mimic the deep red hue and earthy flavor profile of traditional mexican stew beef recipes. Use a digital scale to measure your spices; precision ensures that the cumin does not overwhelm the delicate notes of the beef. If you are out of beef broth, a combination of mushroom stock and a splash of soy sauce adds the necessary umami depth to the liquid base.
The Clock:
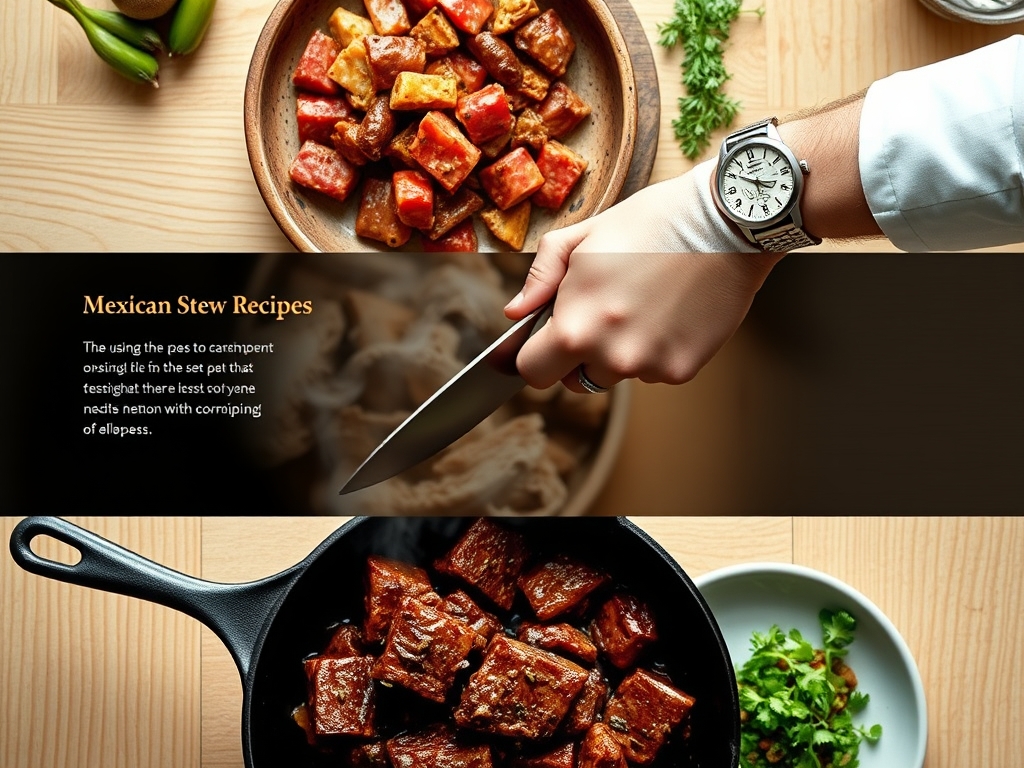
Mastering the "Chef's Flow" is about overlapping tasks to maximize efficiency. Your total active prep time is 30 minutes, followed by a 3-hour slow simmer. Start by hydrating your chiles in boiling water for 15 minutes while you cube the beef. This allows the skins to soften for a smoother puree. The searing phase takes about 12 minutes; do not rush this, as it builds the foundation of the stew. Once the liquid is added, the thermal energy does the heavy lifting. Use this "down time" to prepare your garnishes: radish slices, cilantro, and lime wedges. By the time the beef reaches its peak tenderness at the 180-degree internal mark, your kitchen will be clean and your toppings will be chilled and crisp.
The Masterclass:
1. The Maillard Foundation
Pat your beef cubes bone-dry with paper towels before seasoning generously with kosher salt. Heat a heavy-bottomed skillet or Dutch oven with high-smoke-point oil until it shimmers. Sear the beef in batches to avoid crowding the pan, which causes the meat to steam rather than brown.
Pro Tip: This browning is the Maillard reaction, a chemical dance between amino acids and reducing sugars. It creates hundreds of new flavor compounds that cannot be replicated by boiling alone.
2. Hydrating the Chiles
Remove stems and seeds from your dried chiles and toast them in a dry pan for 60 seconds until fragrant. Submerge them in hot water until pliable, then blend with a cup of the soaking liquid and a microplane-grated clove of garlic.
Pro Tip: Toasting the chiles triggers volatile oil release, intensifying the piquant profile and removing any bitter "raw" notes from the dried skins.
3. Deglazing the Fond
After removing the beef, the bottom of your pot will be covered in dark, caramelized bits called fond. Add your diced onions and use a saucier or wooden spoon to scrape these bits loose as the onions release their moisture.
Pro Tip: Deglazing incorporates the concentrated beef essence back into the sauce, ensuring no flavor is lost to the sink. This is essential for a truly viscous gravy.
4. The Low and Slow Infusion
Return the beef to the pot along with the chile puree, broth, and spices. Bring to a gentle simmer, then reduce the heat to the lowest setting. Cover with a tight-fitting lid to prevent evaporation.
Pro Tip: Keeping the temperature below boiling prevents the muscle fibers from tightening. This allows the collagen to denature into gelatin, resulting in a succulent, melt-in-your-mouth texture.
5. The Fat Render and Skim
As the stew cooks, a layer of red oil will rise to the surface. This is flavored fat that has been infused with the chile pigments. You can stir this back in for richness or skim it off if you prefer a leaner result.
Pro Tip: This fat cap acts as a thermal seal, trapping heat and flavors inside the liquid while the beef undergoes its final structural breakdown.
6. The Acid Balance
In the final ten minutes of cooking, add a tablespoon of apple cider vinegar or lime juice. This cuts through the richness of the beef and brightens the entire dish.
Pro Tip: Acid provides a flavor contrast to the heavy fats, stimulating the salivary glands and making the savory notes of the beef pop on the palate.
The Deep Dive:
A standard serving of Mexican beef stew is a nutritional powerhouse, offering approximately 35g of protein and a significant dose of iron and Vitamin B12. For a Keto-friendly version, simply omit any added potatoes and serve over cauliflower rice. Vegan enthusiasts can swap the beef for large chunks of king oyster mushrooms or seitan, though you must add a teaspoon of liquid smoke to replicate the charred beef depth. For a Gluten-Free guarantee, ensure your beef broth is certified, as some brands use barley-based thickeners.
The Fix-It:
- Too Salty? Drop in a peeled, halved potato for 20 minutes; it acts as a sponge for excess sodium.
- Too Thin? Take a cup of the liquid, whisk in a teaspoon of cornstarch to create a slurry, and stir it back in.
- Too Spicy? Stir in a dollop of Mexican crema or Greek yogurt to encapsulate the capsaicin molecules and dull the burn.
Meal Prep: Stews actually taste better on day two. As the mixture cools, the aromatics continue to aerate and meld. To reheat, do not use a microwave; it toughens the proteins. Instead, use a small saucepan over medium-low heat, adding a splash of water to loosen the gelatinized sauce.
The Wrap-Up:
There you have it; the blueprint for the most incredible mexican stew beef recipes you will ever encounter. By understanding the science of the sear and the patience of the braise, you have moved beyond being a cook and become a culinary architect. This dish is a testament to the power of simple ingredients treated with technical respect. Now, pile that tender beef into a warm tortilla, top it with plenty of lime, and enjoy the fruits of your labor. Your kitchen is now the heart of the home, and your stew is the masterpiece.
The Kitchen Table:
Which cut of beef is best for Mexican stew?
Beef chuck roast is the gold standard. It contains the perfect ratio of fat and connective tissue, which breaks down into rich gelatin during the long simmering process, ensuring the meat remains moist and tender.
How do I make my stew sauce thicker?
The best way is to let the liquid reduce naturally with the lid off during the last 30 minutes. Alternatively, blend a portion of the cooked vegetables and stir them back into the pot for a natural, rustic thickener.
Can I make this in a slow cooker?
Yes. Follow the searing and deglazing steps in a pan first, then transfer everything to the slow cooker. Cook on low for 6 to 8 hours to ensure the collagen fully transforms into a tender texture.
Why is my beef tough after three hours?
If the beef is tough, it likely hasn't cooked long enough or the temperature was too high. Ensure the liquid is at a very low simmer; high heat causes muscle fibers to seize and become rubbery.