
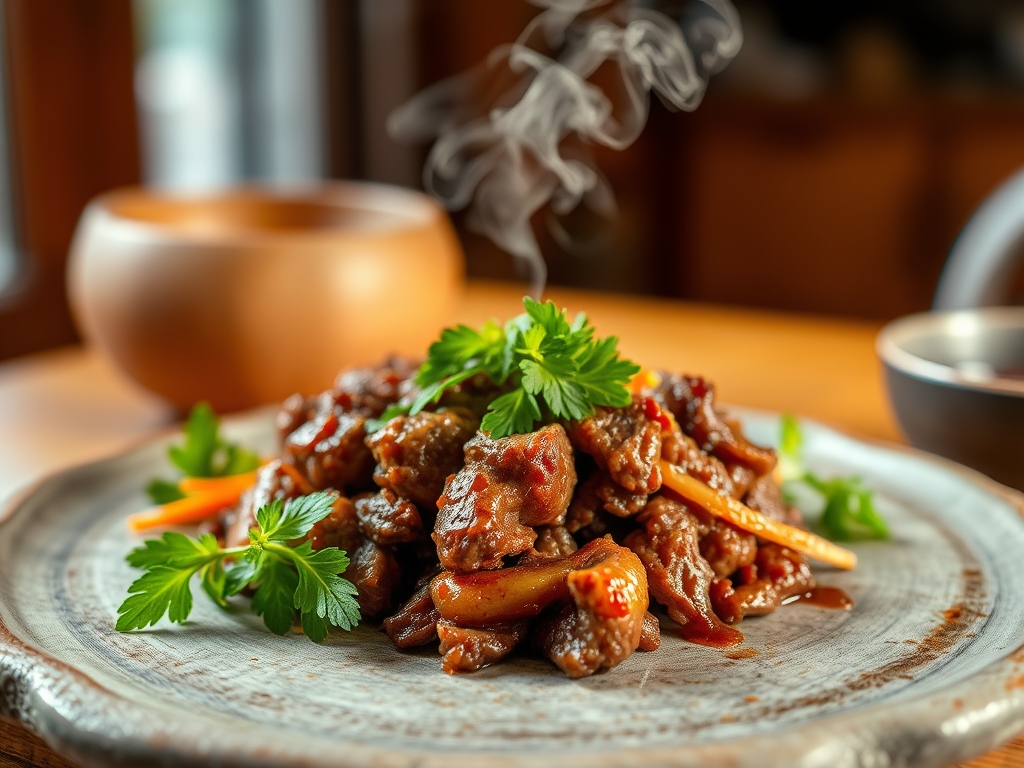
Imagine the sound of a heavy-bottomed skillet meeting a screaming hot flame. As the fat begins to render, the air fills with the scent of toasted sesame and fermented soy. This is the heart of korean bbq ground beef recipes; a weeknight miracle that transforms humble protein into a five-star flavor profile. It is the perfect marriage of salty, sweet, and umami.
The magic lies in the Maillard reaction. This chemical transformation occurs when amino acids and reducing sugars meet high heat; creating that iconic charred crust we crave. Ground beef is the ultimate vehicle for this because its high surface area allows for maximum browning. We are not just making dinner; we are engineering a sensory experience that hits every taste bud simultaneously.
Most people settle for a soggy stir-fry, but you are not most people. By mastering the science of moisture control and heat management, you can achieve that authentic bulgogi-style sear in under twenty minutes. Whether you are stuffing this into bao buns, layering it over jasmine rice, or using it as a high-protein salad topper, these hacks will elevate your kitchen game. Let us dive into the chemistry of the perfect sear.
The Gathers:
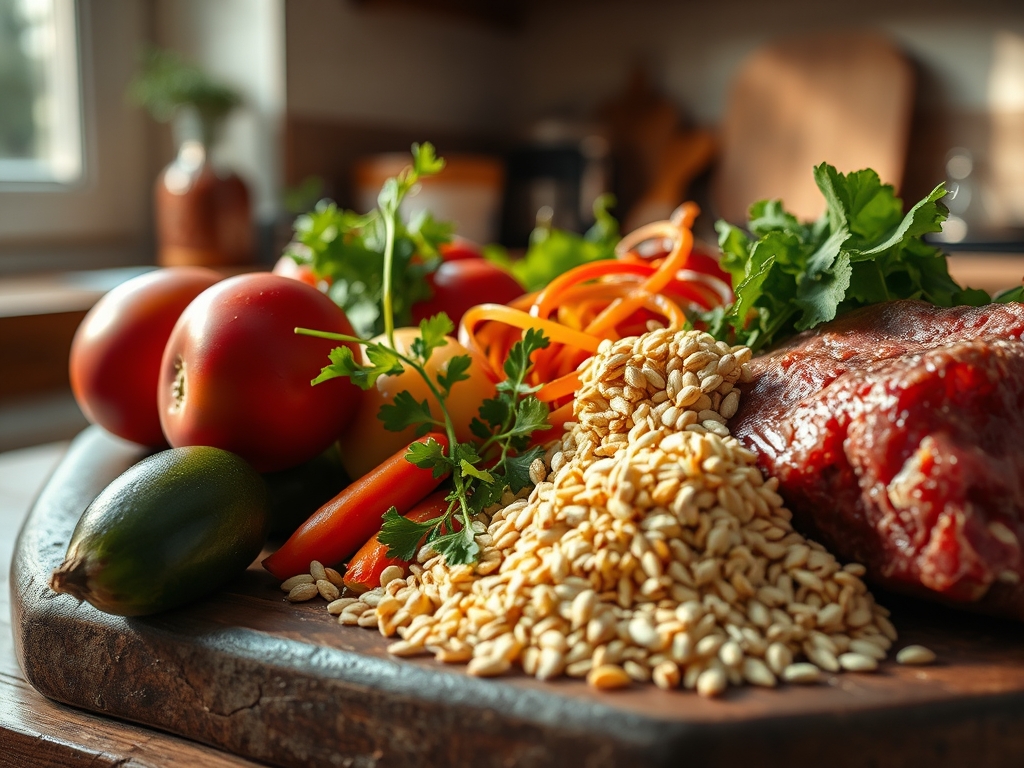
To execute these korean bbq ground beef recipes with precision, your mise-en-place must be flawless. Start with one pound of 80/20 ground chuck. The 20 percent fat content is non-negotiable; it provides the lipid base necessary to infuse the aromatics without drying out the muscle fibers. You will also need a viscous dark soy sauce for color and a lighter tamari for salt depth.
For the aromatics, reach for fresh ginger and garlic. Use a microplane to grate them into a fine paste; this increases the surface area and ensures the flavor is distributed evenly throughout the beef. You will also need toasted sesame oil, light brown sugar (the molasses adds a smoky depth), and gochugaru (Korean red chili flakes) for a piquant kick.
Smart Substitutions:
If you are watching your refined sugar intake, swap the brown sugar for grated Asian pear. The fruit contains natural sugars and calpain, an enzyme that acts as a natural meat tenderizer. If you lack gochugaru, a dash of red pepper flakes mixed with a teaspoon of smoked paprika will mimic that earthy, spicy profile. Always keep a digital scale nearby to ensure your ratios are exact; precision is the difference between a good meal and a professional one.
The Clock:
Efficiency in the kitchen is all about the "Chef's Flow." This refers to the logical sequencing of tasks to minimize downtime and maximize heat retention. Total preparation time for these recipes is approximately 10 minutes, while the active cook time sits at a brisk 12 minutes.
Start by prepping your cold ingredients first. While the skillet preheats, whisk your sauce components in a small saucier. This allows the sugars to begin dissolving before they hit the pan. The goal is to have everything ready to go before the first puff of blue smoke leaves the pan. Remember, once the beef hits the heat, the process moves fast. You cannot stop to peel garlic mid-sear without risking a burnt, bitter mess.
The Masterclass:
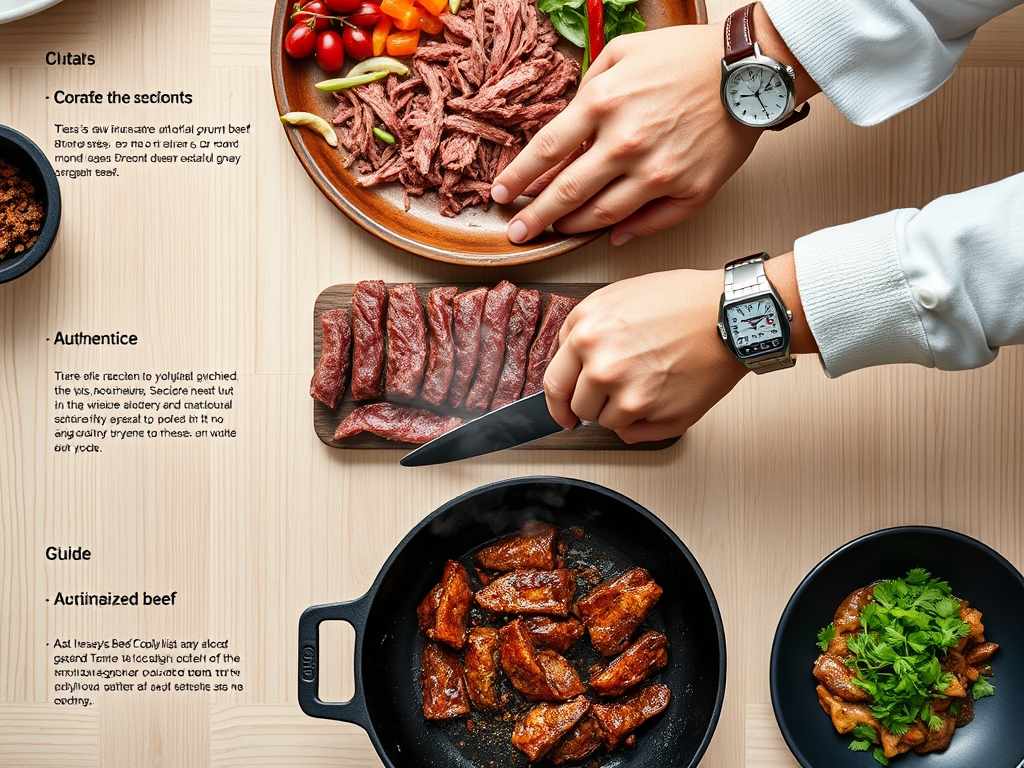
1. The Dry Sear Technique
Place your heavy-bottomed skillet over medium-high heat. Do not add oil yet. Add the ground beef in a single, flat layer. Use a bench scraper or a stiff spatula to press the meat down firmly against the metal.
Pro Tip: This is called "conductive heat transfer." By pressing the meat, you remove air pockets and ensure direct contact with the pan, accelerating the Maillard reaction for a superior crust.
2. Strategic Fat Management
Once the meat has browned on one side, flip it and begin to break it into small crumbles. If there is excessive liquid in the pan, push the meat to one side and use a rolled-up paper towel held by tongs to dab away the moisture.
Pro Tip: Moisture is the enemy of the sear. If the meat sits in its own juices, it will steam rather than fry. Removing excess water allows the temperature to rise above 212 degrees Fahrenheit, which is where the real browning begins.
3. The Aromatic Infusion
Create a well in the center of the pan and drop in your grated ginger and garlic. Let them sizzle in the rendered beef fat for exactly thirty seconds until fragrant, then incorporate them into the meat.
Pro Tip: Fat is a flavor carrier. By blooming your aromatics in the rendered tallow before adding the sauce, you are fat-washing the flavors into the very core of the protein.
4. Deglazing with the Sauce
Pour your whisked sauce mixture over the beef. Use a wooden spoon to scrape up any brown bits stuck to the bottom of the pan. This process is known as deglazing.
Pro Tip: Those stuck-on bits are called "fond." They contain highly concentrated flavor compounds. Incorporating them back into the sauce adds an incredible depth of savory complexity.
5. Emulsifying the Glaze
Continue to cook the mixture over medium heat for 2 to 3 minutes. The sauce will begin to reduce and become viscous, coating each piece of beef in a shiny, lacquer-like finish.
Pro Tip: This is a reduction reaction. As water evaporates, the sugars and proteins concentrate, creating a natural emulsion that clings to the meat rather than pooling at the bottom of the bowl.
6. The Carryover Rest
Remove the skillet from the heat while the meat still looks slightly glossy. Transfer it to a room-temperature bowl immediately to stop the cooking process.
Pro Tip: Thermal carryover can raise the internal temperature of the meat by 5 to 10 degrees even after it leaves the pan. Pulling it early ensures the beef remains tender and juicy rather than grainy.
The Deep Dive:
From a nutritional standpoint, a standard serving of this Korean BBQ beef provides roughly 28g of protein and 18g of fat. To make this Keto-friendly, simply swap the brown sugar for a monk fruit sweetener and serve it in lettuce cups. For a Vegan alternative, use textured vegetable protein (TVP) or crumbled extra-firm tofu, ensuring you press the tofu for at least 30 minutes prior to cooking to mimic the beef's texture.
The Fix-It:
- The Meat is Greasy: This happens if the fat wasn't drained properly. Fix it by tossing the finished meat with a tablespoon of toasted breadcrumbs to absorb the excess lipids.
- The Sauce is Too Salty: You likely over-reduced the soy sauce. Fix it by adding a splash of rice vinegar or lime juice; the acidity will cut through the sodium.
- The Beef is Tough: This usually means the heat was too low for too long. Next time, use a cast iron skillet for better heat retention.
Meal Prep Science:
When reheating, do not use a microwave if possible. The microwave agitates water molecules, often making the meat rubbery. Instead, reheat in a small pan with a tablespoon of water or beef broth. This creates a "steam-reheat" environment that restores the sauce's original viscosity without overcooking the protein.
The Wrap-Up:
Mastering korean bbq ground beef recipes is about more than just following a list of ingredients; it is about understanding how heat and fat interact to create something extraordinary. By focusing on the dry sear and the aromatic bloom, you turn a budget-friendly staple into a gourmet powerhouse. Get your skillet hot, keep your ginger fresh, and do not be afraid to let that meat get a little "char-kissed." Your taste buds will thank you.
The Kitchen Table:
How do I get the beef really crispy?
The secret is avoiding overcrowding the pan. Cook in batches if necessary. Use a heavy-bottomed skillet and resist the urge to stir the meat for the first three minutes to allow a crust to form.
Can I use ground turkey instead?
Yes, but since turkey is leaner, you must add a tablespoon of neutral oil to the pan first. Add a teaspoon of fish sauce to the mix to compensate for the lack of beefy umami.
What is the best way to store leftovers?
Store in an airtight glass container for up to four days. Glass is non-porous and won't absorb the strong garlic and ginger odors, keeping your fridge smelling fresh and the beef tasting "day-one" vibrant.
Why is my sauce not thickening?
The heat might be too low. The sugars in the brown sugar need to reach a simmer to create a glaze. If it is still thin, a tiny cornstarch slurry will fix it instantly.