
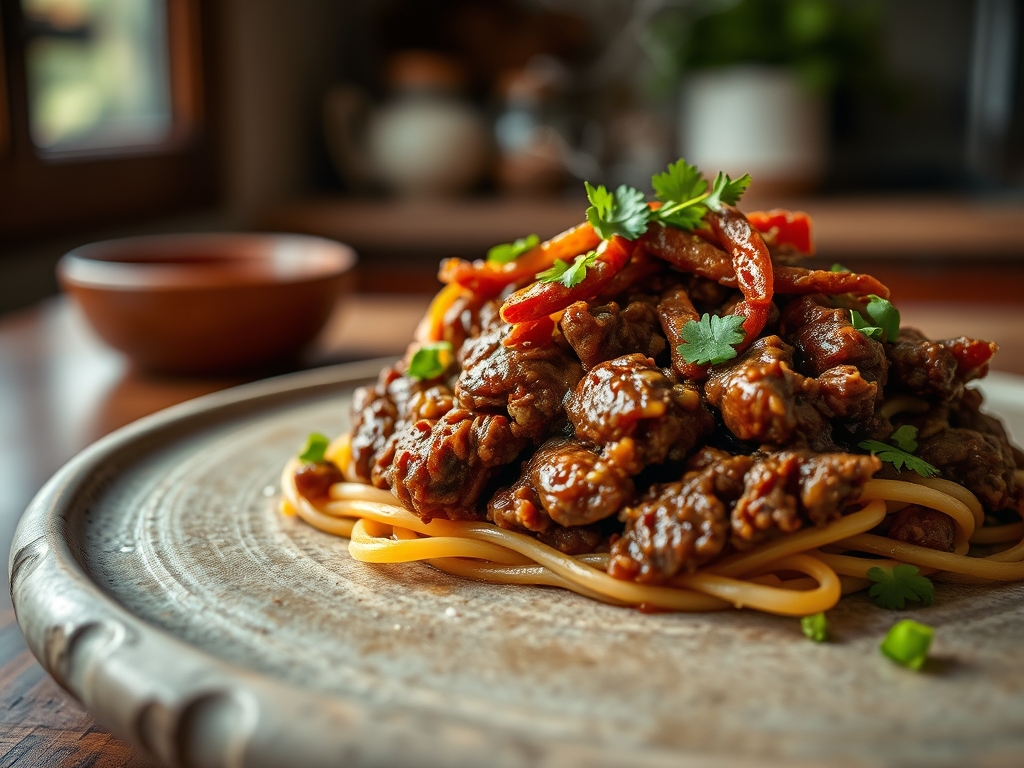
Imagine the scent of toasted cumin colliding with the sharp, metallic tang of a hot cast iron skillet. That is the heartbeat of a Mexican kitchen. When you master authentic mexican ground beef recipes, you are not just making dinner; you are conducting a symphony of fat, acid, and fire. It is about the perfect sear and the deep, soulful richness of well-rendered protein.
The beauty of ground beef, or picadillo, lies in its versatility. It is the backbone of the most iconic comfort foods, from crispy tacos to stuffed peppers. But to get it right, you have to move past the yellow powder packets. We are talking about building layers of flavor that linger on the palate. We are going to use high-quality fats and fresh aromatics to transform humble mince into something truly extraordinary. Grab your favorite apron and a heavy-bottomed skillet; we are about to elevate your weeknight rotation into a gourmet experience that feels like a trip to Mexico City.
The Gathers:
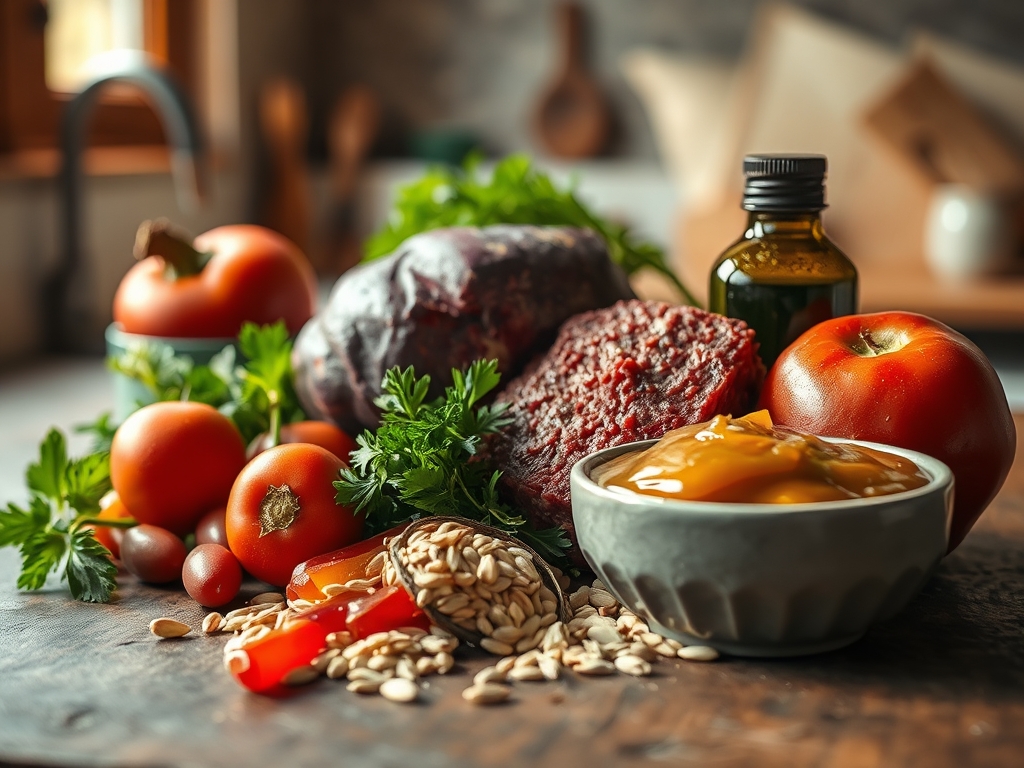
To achieve the depth found in authentic mexican ground beef recipes, your mise-en-place must be precise. Start with 80/20 ground chuck. This specific ratio ensures enough fat to emulsify with your salsa without leaving the dish greasy. You will need white onions for their sharp sulfur content, which mellows into sweetness, and garlic cloves that you should crush with a bench scraper to release their essential oils.
For the spice profile, reach for whole cumin seeds and peppercorns. Using a mortar and pestle to grind these fresh provides a volatile oil punch that pre-ground spices simply cannot match. You will also need canned chipotles in adobo for a smoky, viscous heat, and a splash of apple cider vinegar to provide a necessary acidic lift.
Smart Substitutions:
If you are looking for a leaner profile, ground bison offers a similar iron-heavy flavor but requires a teaspoon of avocado oil to prevent sticking. For those avoiding nightshades, swap the chili powder for a blend of smoked paprika and ground turmeric to maintain that vibrant, earthy hue without the capsaicin heat.
The Clock: Timing Your Flow
Efficiency in the kitchen is about managing the "Chef's Flow." Total active prep time for these recipes usually clocks in at 15 minutes, with a cook time of 20 to 25 minutes. The secret is the degassing phase. You want to brown the meat first, which takes about 8 minutes, then remove it to sauté your aromatics in the residual tallow.
By the time your onions are translucent, your meat has rested, allowing the juices to redistribute. The final simmer, where the beef and sauce marry, takes another 10 minutes. This structured approach ensures that no ingredient is overcooked or mushy, maintaining a distinct texture in every bite.
The Masterclass:
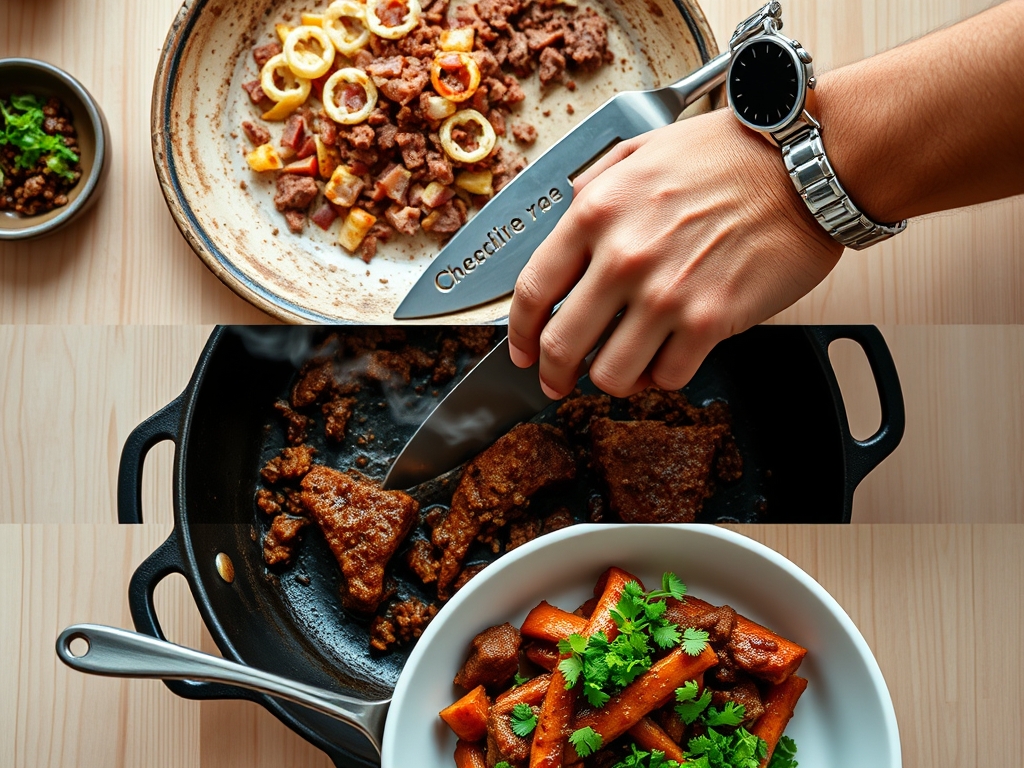
1. The High-Heat Sear
Place your heavy-bottomed skillet over medium-high heat until it wisps with smoke. Add the beef in a single layer. Do not stir it immediately. Let it sit for three minutes to encourage the Maillard reaction, which creates those savory, brown crust bits.
Pro Tip: This is chemical transformation at its finest. By letting the meat sit undisturbed, you are allowing amino acids and reducing sugars to reorganize, creating hundreds of different flavor compounds that boiled meat lacks.
2. Rendering and Removal
Once browned, use a slotted spoon to move the beef to a bowl, leaving the liquid gold (the fat) in the pan. If there is more than two tablespoons of fat, use a spoon to remove the excess, but do not wipe the pan clean. Those stuck-on bits, or fond, are concentrated flavor.
Pro Tip: Fat is a flavor carrier. By sautéing your spices in this rendered tallow, you are blooming the fat-soluble compounds in the spices, making the final dish significantly more aromatic.
3. The Aromatic Infusion
Add your diced onions and peppers to the skillet. Use a wooden spoon to scrape the bottom of the pan. The moisture from the vegetables will naturally deglaze the surface, lifting the fond into the mixture.
Pro Tip: This process uses steam to break the chemical bonds between the caramelized proteins and the metal of the pan. It ensures that every bit of flavor stays in the food rather than going down the drain during cleanup.
4. The Spice Bloom
Clear a small circle in the center of your vegetables and add your freshly ground spices and tomato paste. Toast them for 60 seconds until the paste turns a dark brick red and the scent fills the room.
Pro Tip: Heating tomato paste causes caramelization of its natural sugars. This reduces the raw, metallic tin taste and replaces it with a deep, savory umami profile.
5. The Final Reduction
Return the beef to the pan and add a half-cup of beef stock or crushed tomatoes. Lower the heat to a simmer. Let the liquid reduce until it is thick and coats the back of a spoon.
Pro Tip: As the water evaporates, the sauce becomes more viscous. This concentration of solutes means the flavor becomes more intense, ensuring the beef is seasoned all the way through rather than just on the surface.
The Deep Dive:
From a nutritional standpoint, a standard serving of this authentic beef preparation provides roughly 28g of protein and 18g of fat. It is naturally low-carb, making it a staple for keto diets. To make this vegan, swap the beef for lentils or a walnut-mushroom crumble; just be sure to add a dash of liquid aminos to mimic the savory depth of the meat.
The Fix-It: Common Pitfalls
- Greasy Finish: If the sauce is separating, your emulsion has broken. Fix this by adding a tablespoon of water and stirring vigorously over low heat to re-incorporate the fats.
- Bland Flavor: Usually, this is an acid issue. Add a squeeze of fresh lime juice or a teaspoon of vinegar to "wake up" the salt.
- Tough Meat: You likely crowded the pan, causing the meat to steam in its own juice. Next time, sear in batches to ensure high-heat contact.
Meal Prep Science:
Ground beef actually tastes better on day two. This is because the aromatic compounds continue to diffuse through the fats even after cooling. When reheating, use a saucier and add a tablespoon of water to create steam, which prevents the proteins from becoming rubbery in the microwave.
The Wrap-Up:
Mastering authentic mexican ground beef recipes is the ultimate kitchen power move. It is the foundation for everything from a quick Tuesday night taco to a sophisticated dinner party centerpiece. By focusing on the science of the sear and the art of the bloom, you have moved beyond basic cooking into the realm of culinary craft. Your kitchen should now smell like a smoky, piquant paradise. Now, grab those warm tortillas and enjoy the fruits of your labor!
The Kitchen Table:
How do I make ground beef taste more authentic?
The secret is blooming your spices in hot fat before adding liquids. Use whole cumin and Mexican oregano, and always sear the meat until a deep brown crust forms to maximize the Maillard reaction flavors.
What is the best fat ratio for Mexican beef?
An 80/20 lean-to-fat ratio is ideal. The 20 percent fat content provides the necessary lipids to carry spice flavors and creates a viscous, rich sauce that prevents the meat from tasting dry or grainy.
Can I freeze cooked Mexican ground beef?
Yes, it freezes beautifully for up to three months. Ensure it is completely cool before sealing in an airtight bag to prevent ice crystallization, which can damage the cellular structure of the meat and cause mushiness.
How do I fix meat that is too spicy?
Incorporate an acid like lime juice or a dollop of fat like Mexican crema. These ingredients help to dissolve the capsaicin molecules and coat the tongue, effectively dampening the perceived heat levels without ruining the flavor.