
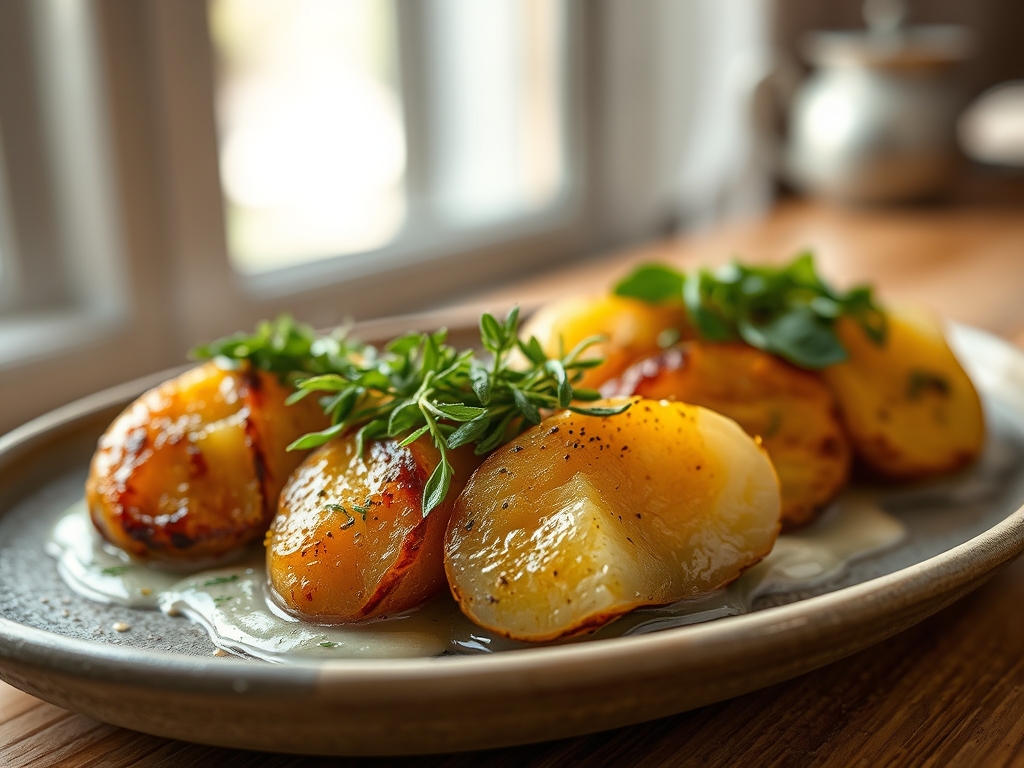
Close your eyes and imagine the scent of clean, earthy steam rising from a heavy-bottomed pot. It is the smell of comfort; a cloud of pure, starchy potential waiting to be transformed into culinary gold. While most people default to boiling, they are actually drowning the flavor and leaching out vital nutrients into the sink. Mastering the art of steamed potato recipes is the ultimate secret weapon for any home cook who values a texture that is simultaneously fluffy and substantial. We are talking about a spud that holds its shape perfectly for a piquant salad yet melts like velvet under a pat of cultured butter. This is not just a side dish; it is a masterclass in moisture control and thermal precision. By the time we are finished, you will never look at a bag of Russets the same way again. We are going to elevate the humble tuber into a high-end gastronomic experience using nothing but water, heat, and a little bit of molecular magic.
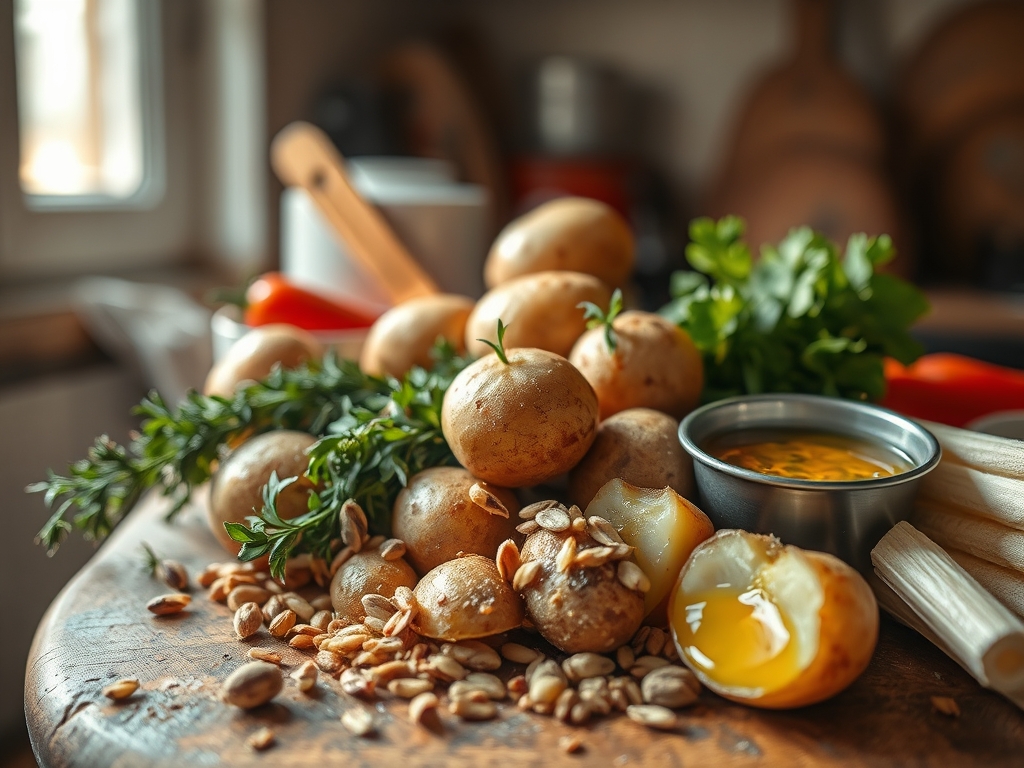
The Gathers:
To achieve perfection, your mise-en-place must be intentional. Start with high-starch varieties like Russets for maximum fluff or waxy Yukon Golds if you desire a buttery, viscous mouthfeel. You will need a digital scale to ensure uniform sizing; uneven chunks lead to uneven cooking. Gather high-quality kosher salt, filtered water, and aromatic herbs like rosemary or thyme to infuse the steam.
Smart Substitutions: If you are avoiding nightshades, Japanese sweet potatoes offer a similar amylose-to-amylopectin ratio. If you lack a traditional steamer basket, a stainless steel colander nested inside a large pot works beautifully. For an extra layer of flavor, swap the steaming water for a salted vegetable stock or add a splash of white wine to the liquid to aerate the potatoes with subtle acidity.
The Clock
Efficiency in the kitchen is all about the Chef's Flow. Your total active preparation time is roughly 10 minutes, focusing on washing and precise dicing with a sharp chef's knife. The actual steaming process takes between 15 to 25 minutes depending on the density of the tuber.
The "Flow" dictates that you should bring your water to a rolling boil while you are still prepping the potatoes. This eliminates "dead time" and ensures the potatoes hit a high-heat environment immediately, which is crucial for setting the exterior starch. Once they are in the basket, you have a 20-minute window to prepare your emulsified dressings or compound butters. Total time from pantry to plate is approximately 35 minutes.
The Masterclass

1. The Uniform Cut
Use a bench scraper to gather your potatoes after dicing them into consistent one-inch cubes. Uniformity is the only way to ensure every piece reaches the ideal internal temperature simultaneously.
Pro Tip: This prevents enzymatic browning. By cutting quickly and moving the pieces directly into the steamer or a bowl of cold water, you stop the polyphenol oxidase from reacting with oxygen and turning your potatoes grey.
2. The Acidulated Soak
Before steaming, soak your cubes in cold water with a teaspoon of lemon juice or vinegar. This removes excess surface starch that can become gummy during the steaming process.
Pro Tip: This step reinforces the pectin structure of the potato. The slight acidity helps the cell walls stay intact so the potato does not disintegrate before the center is cooked through.
3. The Rolling Boil Start
Never start potatoes in cold water when steaming. Ensure the water in your saucier or pot is at a vigorous boil before placing the steamer basket inside.
Pro Tip: This creates an immediate thermal shock. It begins the gelatinization of starches on the exterior quickly, which locks in the moisture and prevents the potato from becoming waterlogged.
4. The Aromatics Infusion
Do not just steam with plain water. Drop a smashed garlic clove, a bay leaf, or a handful of peppercorns into the boiling water below the basket.
Pro Tip: This utilizes volatile aromatic compounds. As the water turns to steam, it carries the essential oils from the herbs upward, subtly flavoring the potatoes from the inside out.
5. The Tight Seal Technique
Use a lid that fits perfectly. If your lid has a vent, cover it with a clean kitchen towel to trap every ounce of steam.
Pro Tip: Maintaining vapor pressure is key. A consistent temperature of 212 degrees Fahrenheit (at sea level) ensures the heat penetrates the dense core of the potato without drying out the surface.
6. The Fork-Tender Test
At the 15-minute mark, use tongs to pull one piece out and test it with a paring knife. It should slide in and out with zero resistance.
Pro Tip: Watch for starch retrogradation. If you overcook them, the starch granules burst and turn the texture mealy. Testing early prevents this irreversible structural collapse.
7. The Post-Steam Evaporation
Once cooked, remove the basket and let the potatoes sit uncovered for two minutes. Shake the basket gently to scuff the edges.
Pro Tip: This facilitates surface dehydration. Allowing the excess steam to escape prevents the potatoes from "sweating" on the plate, which ensures they can better absorb butter or oil later.
8. The Gentle Emulsification
While the potatoes are still hot, toss them with your fat of choice using a silicone spatula. The heat will help the fat penetrate the surface.
Pro Tip: This creates a lipid barrier. Coating the hot starch in fat prevents the pieces from sticking together and preserves that perfect, fluffy interior texture.
The Deep Dive
Macro Nutrition: Steamed potatoes are a nutritional powerhouse. One medium potato contains about 110 calories, zero fat, and more potassium than a banana. Because we are steaming rather than boiling, we retain nearly 80 percent more Vitamin C and B6.
Dietary Swaps: For a Vegan option, use a high-quality extra virgin olive oil and nutritional yeast for a cheesy flavor. For Keto enthusiasts, this recipe can be applied to cauliflower florets, though the steaming time should be reduced to 6-8 minutes. These are naturally Gluten-Free.
The Fix-It:
- Gummy Texture: This happens from over-handling. Use a light touch when tossing. Fix it by spreading them on a baking sheet and roasting at 400 degrees for 5 minutes to crisp the outside.
- Uneven Cooking: Some pieces are hard while others are mush. This is caused by inconsistent dicing. Next time, use a mandoline or a dicing attachment.
- Bland Flavor: If they taste flat, you didn't salt the water heavily enough. Fix it by finishing with a sprinkle of Maldon sea salt and a zest of lemon using a microplane.
Meal Prep Science: To reheat, do not use the microwave as it turns starch rubbery. Instead, use a steamer for 3 minutes or a quick sear in a heavy-bottomed skillet to render the edges crispy while keeping the center moist.
The Wrap-Up
Mastering steamed potato recipes is about respecting the science of the spud. By controlling the vapor, the acidity, and the surface moisture, you transform a budget-friendly staple into a culinary highlight. Whether you are prepping for a busy week or hosting a sophisticated dinner, these eight secrets ensure your potatoes are the star of the show. Go forth and steam with confidence; your taste buds will thank you!
The Kitchen Table
Can I steam potatoes without a basket?
Yes. You can use a metal colander or even create three large balls of aluminum foil to prop a heat-proof plate above one inch of boiling water. Ensure the lid still fits tightly to maintain consistent vapor pressure.
How do I stop potatoes from turning brown?
Immediately submerge peeled or cut potatoes in cold, acidulated water. Adding a splash of lemon juice or white vinegar prevents oxygen from reacting with the enzymes in the potato, keeping the flesh bright and white before cooking.
Which potato is best for steaming?
Yukon Golds are the gold standard for steaming because they occupy the middle ground between starchy and waxy. They hold their shape beautifully while providing a creamy, rich texture that absorbs dressings and fats efficiently.
How long do steamed potatoes last in the fridge?
Steamed potatoes stay fresh for up to five days when stored in an airtight container. For the best texture, ensure they have cooled completely before sealing the lid to prevent condensation from making them soggy during storage.