
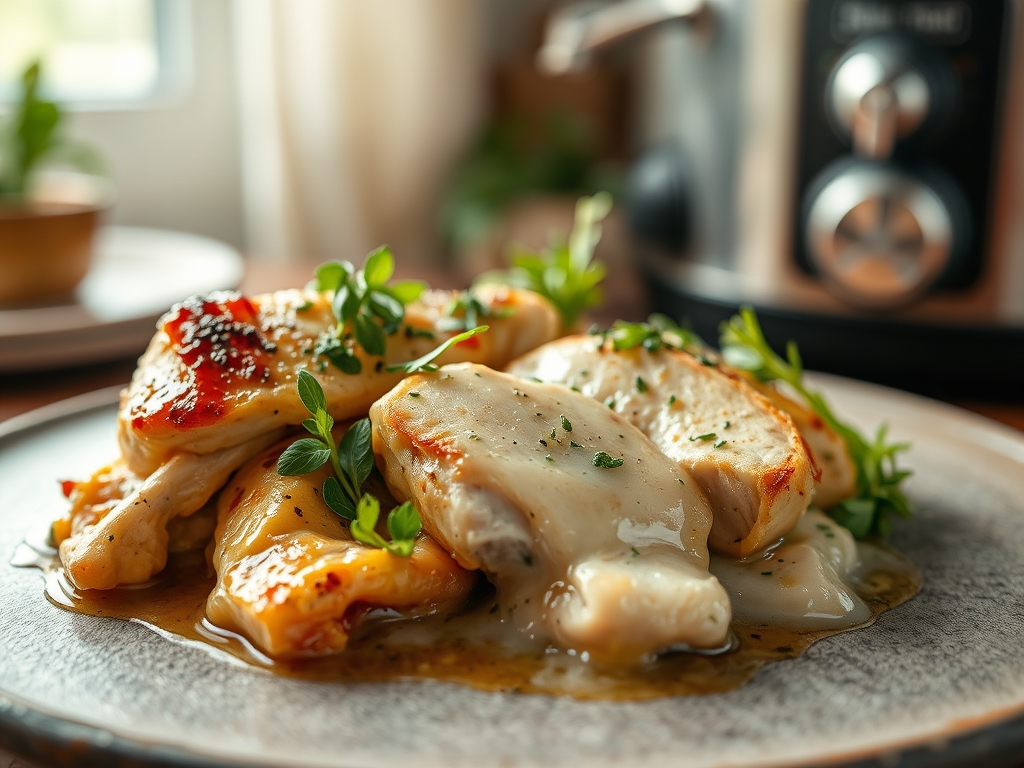
Picture this. You walk through your front door after a grueling nine-to-five and you are immediately hit by a wall of savory, piquant aromatics. It is the scent of slow-rendered poultry fat and toasted garlic. That is the magic of mastering crockpot ranch chicken recipes. This is not just a dump-and-go meal; it is a masterclass in low-and-slow flavor extraction that turns basic pantry staples into a viscous, velvet-smooth sauce.
The beauty of this dish lies in its chemical simplicity. While your slow cooker hums on the counter, a complex series of reactions occurs. The collagen in the chicken thighs begins to break down into gelatin. This provides a rich mouthfeel that mimics high-end restaurant reductions. Meanwhile, the lactic acid in the ranch seasoning acts as a mild tenderizer. It ensures every fiber of the protein remains succulent rather than stringy. We are moving beyond the basic "crockpot" reputation. We are elevating this into a culinary staple that balances salt, fat, and acid with surgical precision.
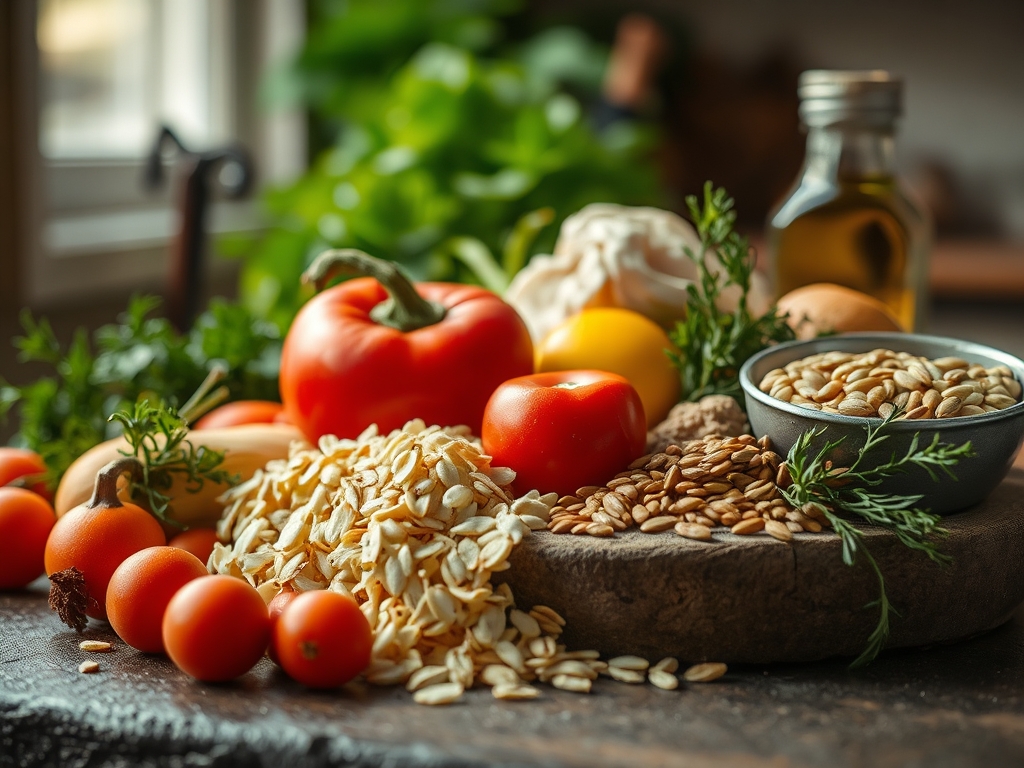
The Gathers:
To achieve the perfect texture, you need to respect the mise-en-place. I recommend using a digital scale to measure your ingredients for consistency. You will need two pounds of boneless, skinless chicken thighs. Thighs are superior to breasts here because their higher fat content prevents the meat from drying out during the extended thermal cycle.
Next, gather one packet of dry ranch seasoning or three tablespoons of a homemade blend. If you are making your own, use a microplane to zest fresh lemon over the dried dill and chive for a bright, citrusy lift. You will also need eight ounces of full-fat cream cheese, half a cup of chicken bone broth for added protein density, and a quarter cup of unsalted butter.
Smart Substitutions: If you want to lighten the profile, swap the cream cheese for Greek yogurt added at the very end of the cook cycle. To increase the umami, add a teaspoon of nutritional yeast or a splash of Worcestershire sauce. For those who crave heat, a few sliced pickled jalapenos will provide a sharp, acidic contrast to the heavy fats in the dairy.
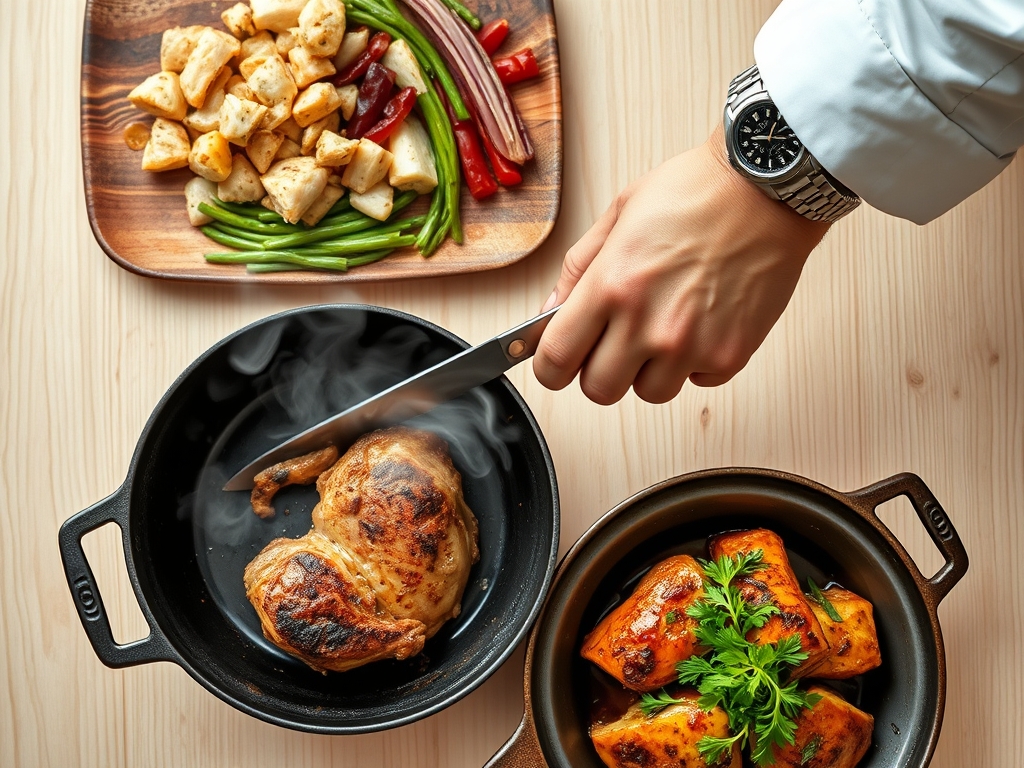
The Clock
Efficiency in the kitchen is about the Chef's Flow. This is the art of sequencing tasks so that you are never waiting on the equipment. Your active prep time is a mere ten minutes. This includes trimming the fat with sharp kitchen shears and whisking your liquid base in a small saucier.
The passive cook time is where the transformation happens. On the "Low" setting, you are looking at six to seven hours. On "High," the window narrows to three to four hours. However, the science of muscle fiber relaxation favors the longer, lower temperature. This allows the connective tissues to dissolve without the proteins tightening and squeezing out their internal moisture. Aim to start your prep during your morning coffee routine to hit the "sweet spot" by dinner.
The Masterclass
1. The Foundation Layer
Place your chicken thighs in a single layer at the bottom of the crockpot. Do not overcrowd them. If they overlap too much, they will steam rather than braise. Sprinkle the ranch seasoning evenly over the surface using a fine-mesh sieve to prevent clumping.
Pro Tip: This step utilizes surface area optimization. By spreading the seasoning directly onto the meat rather than stirring it into the liquid, you allow the salt to penetrate the protein cells via osmosis before the liquid volume increases.
2. The Fat Integration
Place the block of cream cheese and the butter pats directly on top of the seasoned chicken. Pour your bone broth around the edges of the pot. Do not pour it directly over the chicken, as this will wash away the concentrated spices you just applied.
Pro Tip: This creates a top-down emulsification. As the fats melt, they baste the chicken in a continuous drip. This prevents the top layer of meat from oxidizing or becoming leathery when exposed to the air pocket in the slow cooker.
3. The Thermal Cycle
Secure the lid and set your temperature. Resist the urge to lift the lid. Every time you open the cooker, you lose significant thermal energy and steam. This can add twenty minutes to your total cook time and disrupt the steady breakdown of collagen.
Pro Tip: Maintaining a constant temperature is vital for enzymatic tenderization. Proteases in the meat are active at lower temperatures; a steady climb allows these enzymes more time to work before they are eventually denatured by the high heat.
4. The Shred and Emulsify
Once the timer hits, use a pair of stainless steel tongs to check the internal temperature. It should be 165 degrees Fahrenheit. Remove the chicken to a warm bowl. Use a whisk to vigorously combine the remaining liquid, melted butter, and cream cheese in the pot until the sauce is glossy and homogenous.
Pro Tip: Use a bench scraper or two forks to shred the chicken against the grain. Shredding while the meat is hot allows the fibers to act like a sponge. When you add the meat back into the pot, it will soak up the sauce through capillary action.
The Deep Dive
From a macro perspective, this dish is a powerhouse. A standard serving contains roughly 35 grams of protein and 22 grams of fat. It is naturally low-carb, making it a favorite for those following a ketogenic lifestyle. If you are looking for a vegan alternative, use soy curls and a base of coconut cream with a touch of apple cider vinegar to mimic the piquant tang of buttermilk.
The Fix-It:
If your sauce is too thin, do not panic. Whisk a teaspoon of cornstarch with cold water to create a slurry and stir it into the bubbling pot for five minutes. If the sauce breaks and looks oily, it means the temperature was too high. Whisk in a tablespoon of cold heavy cream to re-emulsify the fats. If the flavor is flat, add a squeeze of fresh lemon juice; the acid will brighten the heavy fats immediately.
Meal Prep Science:
When reheating, do not use the microwave on high power. This causes the fats to separate and the chicken to become rubbery. Instead, use a heavy-bottomed skillet over medium-low heat. Add a splash of milk or broth to loosen the sauce. The gentle heat will re-hydrate the gelatin and restore the "day-one" silky texture.
The Wrap-Up
Mastering crockpot ranch chicken recipes is about more than just convenience. It is about understanding how fat, heat, and time interact to create comfort in a bowl. Whether you serve this over a bed of roasted garlic mashed potatoes or tucked into toasted brioche buns, you are delivering a meal that is scientifically structured for maximum satisfaction. Now, go grab your slow cooker and let the chemistry do the heavy lifting.
The Kitchen Table
Can I use frozen chicken for this recipe?
It is not recommended for safety. Frozen meat stays in the "danger zone" for bacterial growth too long in a slow cooker. Always thaw your poultry completely in the refrigerator before starting the cook cycle to ensure even heat distribution.
Why did my sauce turn out lumpy?
Lumpy sauce usually happens when the cream cheese is added straight from the fridge. For a perfectly smooth emulsion, let your cream cheese reach room temperature. Alternatively, whisk the sauce vigorously with a balloon whisk before adding the shredded chicken back in.
How long does this stay fresh in the fridge?
You can safely store this in an airtight container for three to four days. The flavors actually deepen over time as the spices continue to infuse into the fats. Ensure it is cooled to room temperature before sealing to prevent condensation.
Is there a way to make this dairy-free?
Yes. Substitute the butter with a high-quality vegan butter stick and use a thick cashew cream instead of cream cheese. Ensure your ranch seasoning mix does not contain buttermilk powder. The result will still be incredibly rich and savory.