
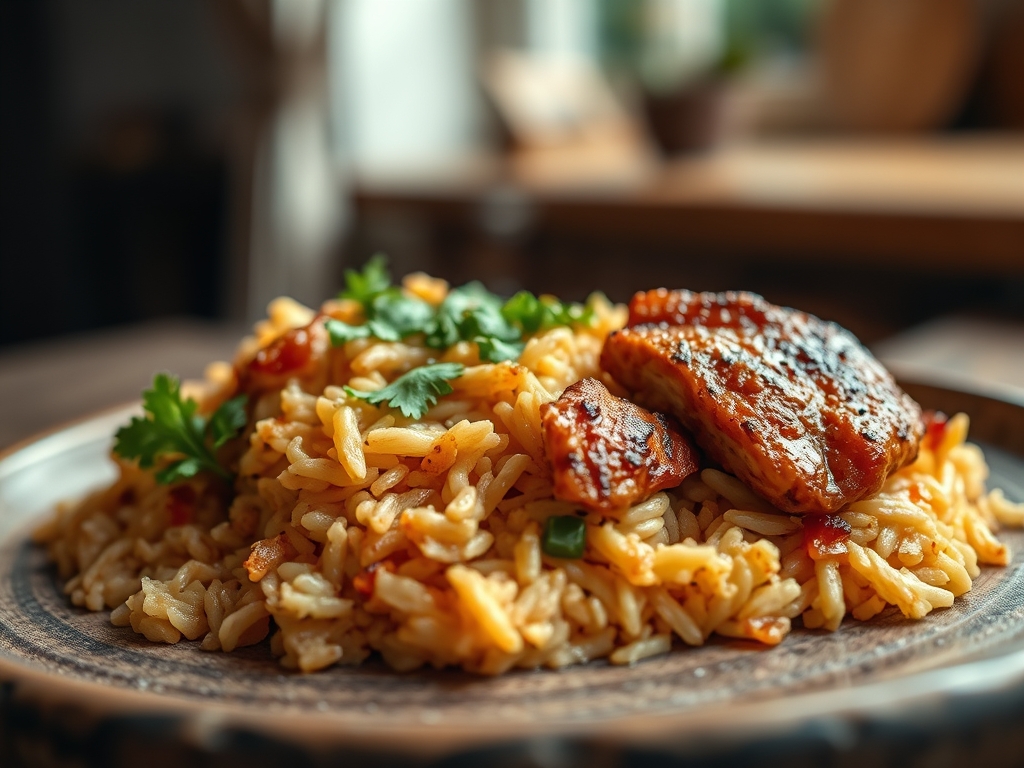
Imagine the smell of toasted cumin hitting a hot, heavy-bottomed skillet while the sound of searing poultry creates a rhythmic sizzle in your kitchen. We are diving into the ultimate comfort food category today; specifically, how to master mexican rice chicken recipes so they taste like a three-day labor of love rather than a thirty-minute weeknight win. This is not just about throwing protein and grains into a pot. It is about the science of aromatics and the precise timing of hydration. When you get the balance of piquant peppers and savory chicken fat just right, you create a dish that is deeply nostalgic yet technically sophisticated. Whether you are feeding a crowd or prepping for a solo week of gourmet lunches, understanding the molecular magic behind these ingredients will transform your cooking from basic sustenance to a culinary event. We are going to explore how to achieve that perfect, fluffy grain separation and that golden, crispy chicken skin that makes every bite a texture-rich experience.
The Gathers:
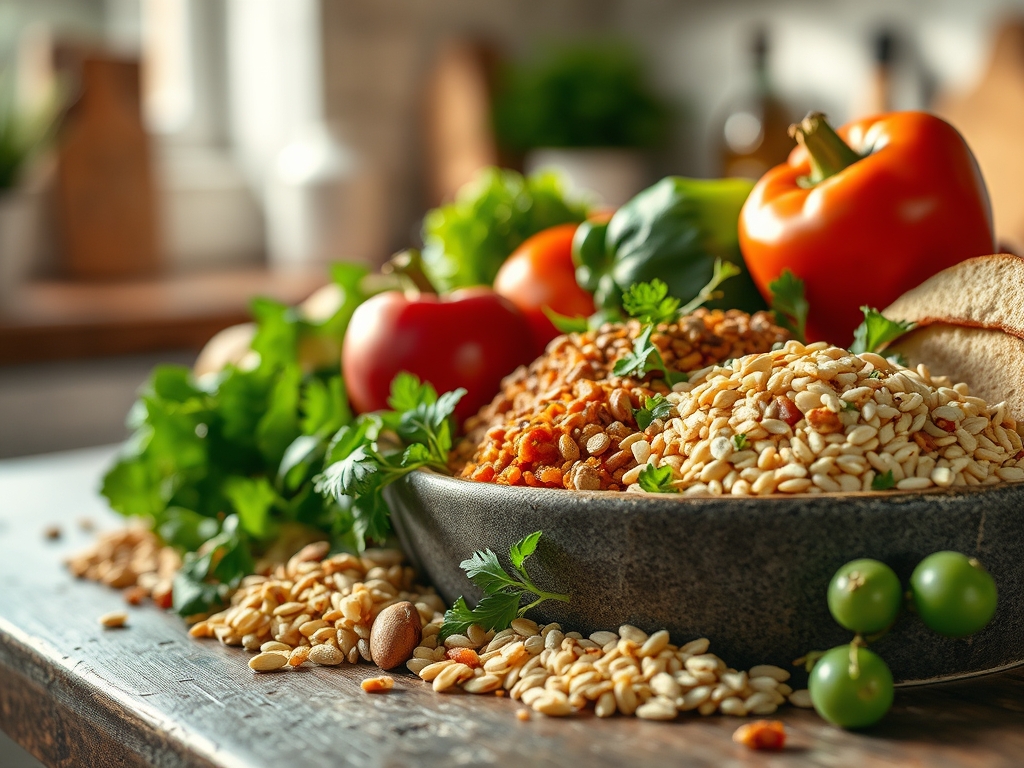
Before we ignite the burner, we must respect the mise-en-place. Use a digital scale for your rice to ensure a perfect 1:2 ratio of grain to liquid; volume measurements are often deceptive due to air pockets. You will need high-quality long-grain white rice, which contains the right amylose content for distinct grains. For the protein, choose bone-in, skin-on thighs to maximize the amount of fat you can render into the pan. This liquid gold becomes the cooking medium for your rice, infusing every grain with intense chicken essence.
Your aromatic profile requires a head of garlic, a white onion, and several Roma tomatoes. Use a microplane to zest a lime and grate your garlic into a fine paste; this increases the surface area for flavor extraction. For the "Smart Substitutions," if you are out of fresh tomatoes, a tablespoon of high-quality tomato paste provides a concentrated hit of umami and natural sugars for better caramelization. If you want to kick up the heat, reach for a dried chipotle in adobo for a smoky, viscous sauce component. Always have a bench scraper handy to transition your chopped aromatics from the cutting board to the skillet without losing a single drop of flavorful juice.
The Clock
Efficiency in the kitchen is all about the "Chef's Flow." Expect a total active prep time of 15 minutes and a passive cook time of 25 minutes. The flow begins with the chicken. While the poultry sears, you should be dicing your aromatics. Never wait for one process to finish before starting the next. The rice requires a 5-minute "toast" phase, which is non-negotiable for flavor development. Finally, a 10-minute rest period after the heat is turned off allows the steam to redistribute, ensuring the rice at the bottom is just as moist as the rice at the top. Total investment: 50 minutes for a masterpiece.
The Masterclass
1. The Rendering Phase
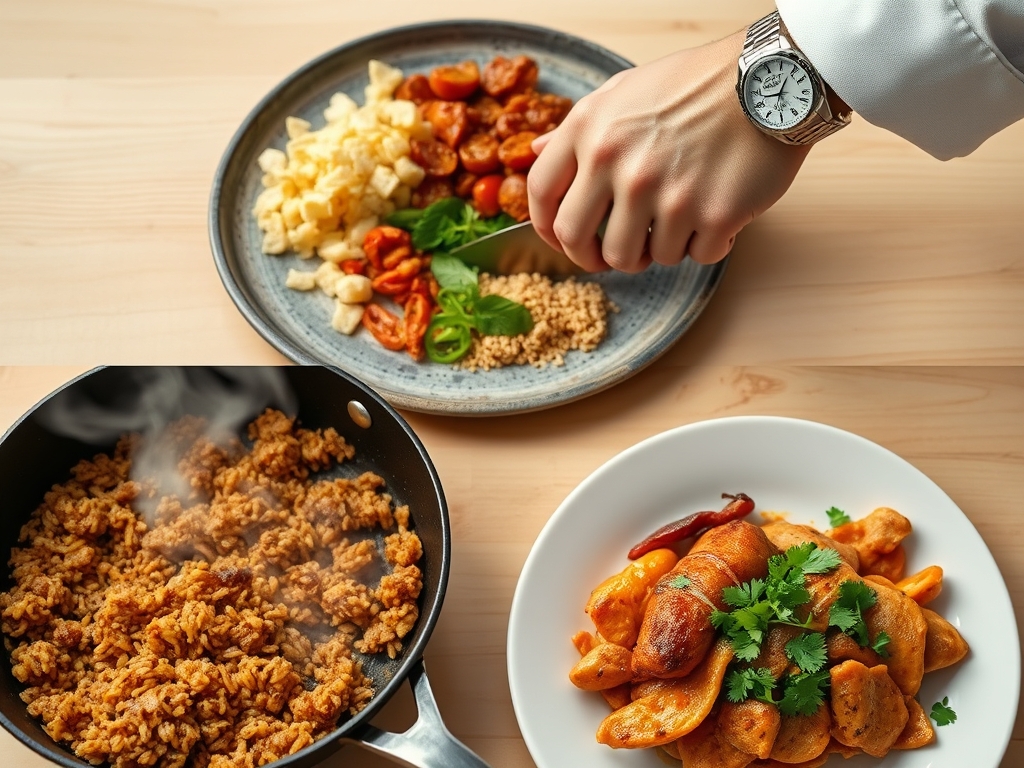
Place your chicken thighs skin-side down in a cold, heavy-bottomed skillet before turning the heat to medium-high. This allows the fat to liquefy slowly rather than seizing the proteins. Use tongs to press the skin firmly against the metal.
Pro Tip: This technique utilizes enzymatic browning and fat rendering. By starting cold, you avoid scorching the exterior before the subcutaneous fat has a chance to melt into the pan, which provides the flavor base for your entire dish.
2. The Maillard Toast
Remove the chicken and add your dry rice directly into the residual fat. Stir constantly until the grains turn an opaque, nutty brown. This is the secret to mexican rice chicken recipes that do not turn into mush.
Pro Tip: Toasting the rice creates a protective coating of dextrin. This chemical change prevents the grains from over-absorbing water and bursting, which is the primary cause of sticky, gummy rice.
3. Deglazing the Fond
Add your onions and peppers to the pan, using the moisture from the vegetables to deglaze the brown bits (the fond) from the bottom of the skillet. Use a wooden spoon to scrape the surface thoroughly.
Pro Tip: The fond contains concentrated amino acids and sugars. Incorporating these back into the liquid phase ensures a complex, multi-layered flavor profile that salt alone cannot replicate.
4. The Hydration Jumpstart
Pour in your chicken stock and tomato puree. Bring the mixture to a violent boil for exactly sixty seconds before reducing to a whisper-thin simmer. Cover the pot with a tight-fitting lid.
Pro Tip: This initial burst of high heat ensures that the internal temperature of every grain reaches the gelatinization point simultaneously. This leads to a uniform texture throughout the pot.
5. The Thermal Rest
Once the liquid is absorbed, remove the skillet from the heat source but do not lift the lid. Let it sit undisturbed for ten minutes to allow the moisture levels to equalize.
Pro Tip: This stage utilizes thermal carryover. The residual steam completes the hydration of the rice cores without the risk of burning the bottom layer, resulting in perfectly aerated grains.
The Deep Dive
When we look at the macro nutrition, this dish is a powerhouse of balanced energy. A standard serving provides approximately 35 grams of protein, 45 grams of complex carbohydrates, and 12 grams of healthy fats. To make this Keto-friendly, swap the white rice for cauliflower rice, but reduce the liquid by 80 percent to avoid a soggy mess. For a Vegan version, utilize smoked tofu seared in avocado oil and use a rich vegetable bouillon enriched with nutritional yeast for that savory "chicken" depth.
The Fix-It: Common Pitfalls
- Crunchy Rice: This happens if your lid is not airtight. Fix it by adding two tablespoons of boiling water and sealing the pot with foil under the lid for five extra minutes.
- Bland Flavor: You likely under-salted the rice. Salt must be added to the liquid, as the rice cannot absorb seasoning once it is fully hydrated. Add a splash of lime juice at the end to brighten the existing salt.
- Burnt Bottom: Your simmer was too high. Next time, use a heat diffuser or the smallest burner on your stove. If it happens now, do not scrape the bottom; just scoop the "clean" rice from the top.
Meal Prep Science
To maintain "day-one" quality when reheating, add a teaspoon of water per cup of rice and cover it with a damp paper towel. Use the microwave on medium power to create a mini-steam chamber, which re-hydrates the starch molecules and restores the fluffy texture.
The Wrap-Up
Mastering mexican rice chicken recipes is like learning a secret language of flavor. By focusing on the science of the sear and the precision of the simmer, you have elevated a simple pantry staple into a culinary triumph. Remember, the best cooks are the ones who understand why things happen in the pan, not just what to do. Now, grab your favorite saucier, find the freshest cilantro you can, and get to work. Your kitchen is about to smell incredible!
The Kitchen Table
How do I prevent my rice from getting mushy?
Always toast your dry rice in fat until it is golden brown before adding any liquid. This creates a starch barrier that prevents the grains from absorbing too much water and losing their structural integrity during the simmering process.
Can I use chicken breast instead of thighs?
Yes, but be careful. Chicken breasts lack the fat content of thighs and dry out quickly. Sear them separately and add them back to the rice during the last five minutes of cooking to ensure they remain juicy and tender.
What is the best rice for Mexican dishes?
Long-grain white rice is the gold standard. It has a high amylose content, which ensures the grains stay separate and fluffy. Avoid short-grain or sushi rice, as these are too starchy and will result in a sticky texture.
Why should I use a heavy-bottomed skillet?
Heavy pans, like cast iron or thick stainless steel, distribute heat more evenly. This prevents "hot spots" that cause the rice to burn in one area while remaining raw in another, ensuring a perfectly uniform cook every time.