
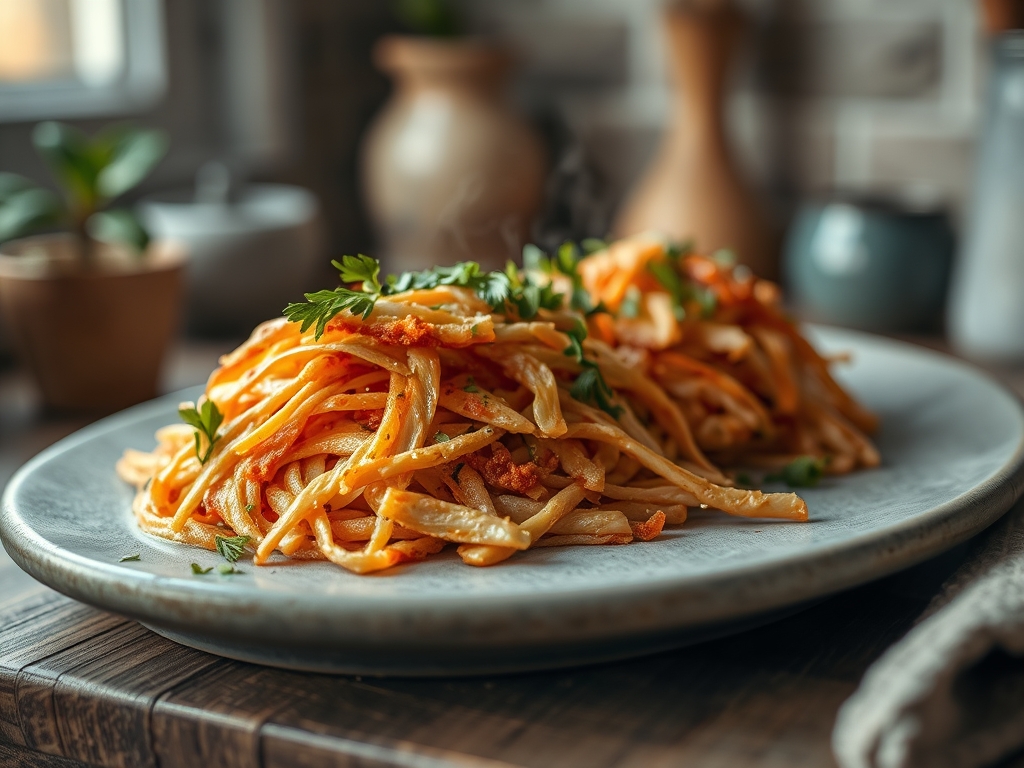
Imagine the softest, most buttery flake of pink fish collapsing under the slight pressure of a fork. It is not just cooked; it is transformed into a cloud of savory protein that holds onto sauce like a secret. When you master shredded salmon recipes, you unlock a culinary superpower that bridges the gap between a Tuesday night rush and a five star bistro experience. We are moving beyond the dry, overcooked fillets of the past. Instead, we are focusing on moisture retention and flavor infusion to create a versatile base for tacos, grain bowls, or elegant salads. This is about texture, technique, and the chemical magic that happens when heat meets healthy fats.
The Gathers:
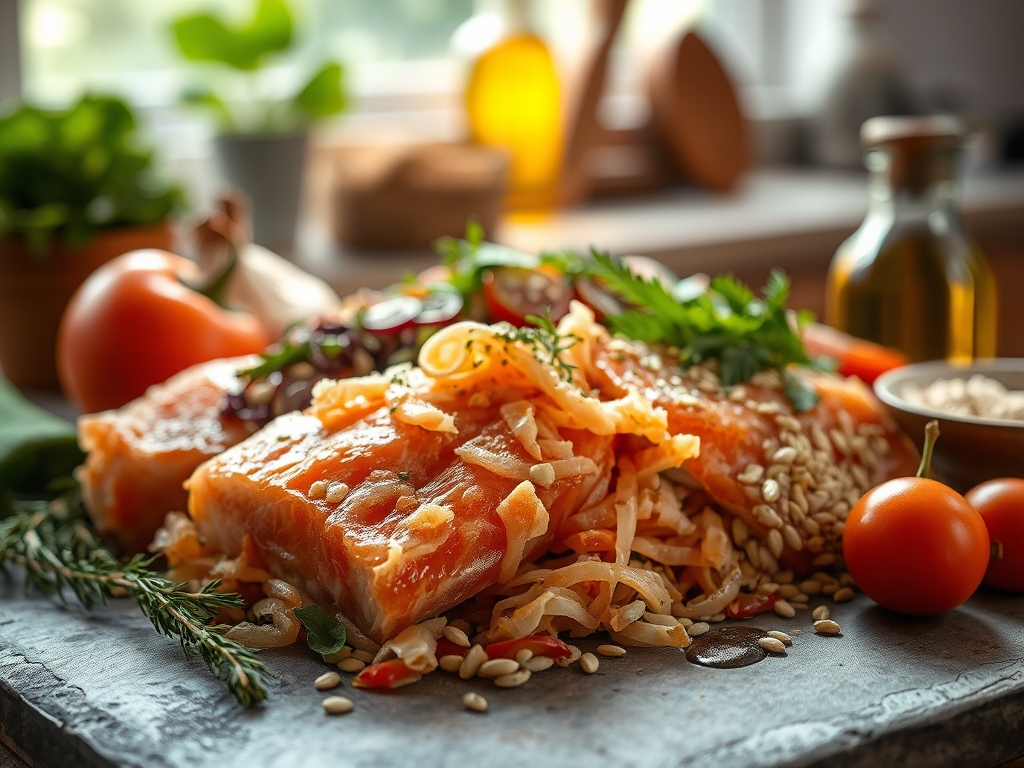
To achieve a result that is truly succulent, your mise-en-place must be intentional. Start with high quality salmon fillets; look for deep pigmentation and firm flesh, which indicate a high concentration of astaxanthin and healthy Omega-3 fatty acids. You will need a heavy-bottomed skillet or a cast iron pan to ensure even heat distribution. Grab your microplane for zesting aromatics and a digital scale if you want to be precise with your seasoning ratios.
The flavor profile relies on a balance of fat and acid. You will need a high smoke point oil like avocado oil, plus a viscous liquid for poaching or finishing, such as a rich coconut milk or a bright citrus reduction. For the aromatics, gather fresh ginger, garlic, and shallots. If you are looking for Smart Substitutions, you can swap the salmon for steelhead trout, which has a similar fat content and flake structure. If you need a plant-based alternative, king oyster mushrooms shredded with a fork can mimic the texture, though they lack the specific lipids found in fatty fish.
The Clock:
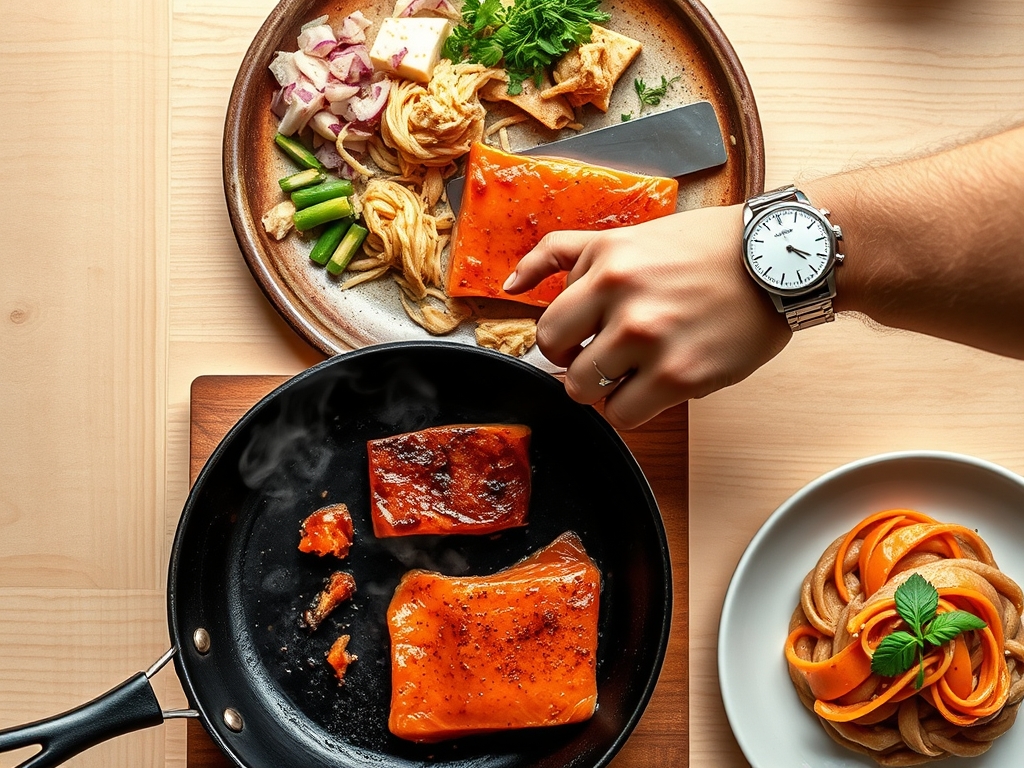
Efficiency in the kitchen is all about the Chef's Flow. This process takes approximately 25 minutes from start to finish. Spend the first 10 minutes on prep: washing, patting the fish dry to ensure a proper sear, and mincing your aromatics. The actual cooking time is remarkably short, usually 8 to 12 minutes depending on the thickness of the fillet.
The "flow" means you are cleaning as you go. While the salmon rests, you should be preparing your finishing sauce or garnishes. This resting period is not optional; it allows the muscle fibers to relax and reabsorb the internal juices. If you shred the fish the moment it leaves the heat, the steam escapes instantly, leaving the protein dry and stringy. Patience is the ingredient that costs nothing but provides the most value.
The Masterclass:
1. The Surface Preparation
Before the fish ever touches the pan, you must remove all surface moisture. Use a paper towel to press firmly on the skin and flesh. A dry surface is the only way to achieve the Maillard reaction, which is the chemical reaction between amino acids and reducing sugars that gives browned food its distinctive flavor.
Pro Tip: Salt the fish at least 10 minutes before cooking. This allows the salt to dissolve into a brine and penetrate the protein cells through osmosis, seasoning the fish deeply rather than just on the surface.
2. The Sear and Render
Place your salmon skin-side down in a preheated heavy-bottomed skillet. Do not move it. You want to render the fat out of the skin, making it crispy and flavorful. Use your tongs to press down slightly, ensuring full contact with the heat source.
Pro Tip: Heat causes proteins to denature and coagulate. By starting with a cold pan and bringing it up to heat, or using a moderate flame, you prevent the "white stuff" (albumin) from leaking out too quickly, which preserves the internal moisture.
3. The Gentle Flip
Once the skin is crispy and the heat has traveled about halfway up the side of the fillet, flip it gently. We are not looking for a hard sear on the flesh side; we want to keep it tender for easy shredding. This is the stage where you might add a splash of liquid to deglaze the pan.
Pro Tip: Use a digital thermometer to check the internal temperature. For the perfect shred, pull the salmon at 125 degrees Fahrenheit. Thermal carryover will continue to cook the fish as it rests, bringing it to a safe and juicy 130 to 135 degrees.
4. The Infusion Phase
While the fish finishes cooking, add your aromatics like ginger or garlic. Let them infuse into the cooking fats. This creates a flavor-packed oil that will coat every single strand of the shredded fish later.
Pro Tip: Aromatics contain volatile organic compounds that are fat-soluble. By sautéing them briefly in the salmon fat, you are capturing flavors that water-based liquids simply cannot hold.
5. The Rest and Flake
Remove the salmon from the pan and let it sit on a cutting board for at least five minutes. Use two forks or a bench scraper to gently pull the flesh apart. It should separate naturally along the connective tissue lines.
Pro Tip: Resting allows the internal pressure of the fish to equalize. If you cut into it too soon, the viscous internal juices will spill out onto the board instead of staying inside the flakes.
6. The Final Emulsification
Toss the shredded salmon back into the pan with any remaining juices and a squeeze of lime or a dash of vinegar. The acid will aerate the heavy fats and brighten the entire dish.
Pro Tip: This final step creates a light emulsification between the fish fats and the added acids, ensuring every bite is seasoned and moist.
The Deep Dive:
When we look at the Macro Nutrition, shredded salmon is a powerhouse. A standard 4-ounce serving provides roughly 25 grams of high quality protein and 11 grams of healthy fats. It is naturally low in carbohydrates, making it a staple for Keto and Paleo lifestyles. For those following a Vegan path, use the mushroom method mentioned earlier with a splash of liquid aminos for that umami hit.
If you hit a snag, don't panic. Here is "The Fix-It" guide for common pitfalls. If your salmon is too dry, fold in a tablespoon of Greek yogurt or avocado oil mayo to restore the creamy mouthfeel. If the fish is bland, it likely needs more acid; a splash of rice vinegar or lemon juice usually fixes the profile. If the fish is sticking to the pan, you likely tried to flip it too early. The fish will naturally "release" from the metal once the proteins have properly seared.
For Meal Prep, shredded salmon is superior to whole fillets. To reheat while maintaining "day-one" quality, avoid the microwave. Instead, use a saucier or small pan over low heat with a tablespoon of water or broth. Cover the pan to create a steam chamber, which gently rehydrates the protein without toughening the fibers.
The Wrap-Up:
Mastering shredded salmon recipes is about more than just dinner; it is about understanding how heat and fat interact to create something spectacular. By focusing on the Maillard reaction, respecting the resting period, and using the right tools like a heavy-bottomed skillet, you turn a simple ingredient into a gourmet foundation. Now, go grab your tongs and start flaking; your kitchen is about to smell incredible!
The Kitchen Table:
How do I prevent salmon from becoming rubbery?
Avoid high, aggressive heat and overcooking. Use a digital thermometer to pull the fish at 125 degrees Fahrenheit. This allows thermal carryover to finish the process gently, keeping the protein fibers tender and moist.
Can I use frozen salmon for shredding?
Yes, but thaw it completely in the refrigerator first. Pat it extremely dry with paper towels to remove excess moisture. This ensures you still get a proper sear and prevents the fish from steaming in its own juices.
What is the best way to shred the salmon?
Use two forks to pull the flesh apart along its natural flakes. Alternatively, for a finer texture, a bench scraper can be used to gently chop and separate the pieces while they are still warm and pliable.
How long does shredded salmon stay fresh?
When stored in an airtight container, it lasts for up to three days in the fridge. For the best quality, reheat it gently on the stovetop with a splash of liquid to maintain its viscous, juicy texture.