
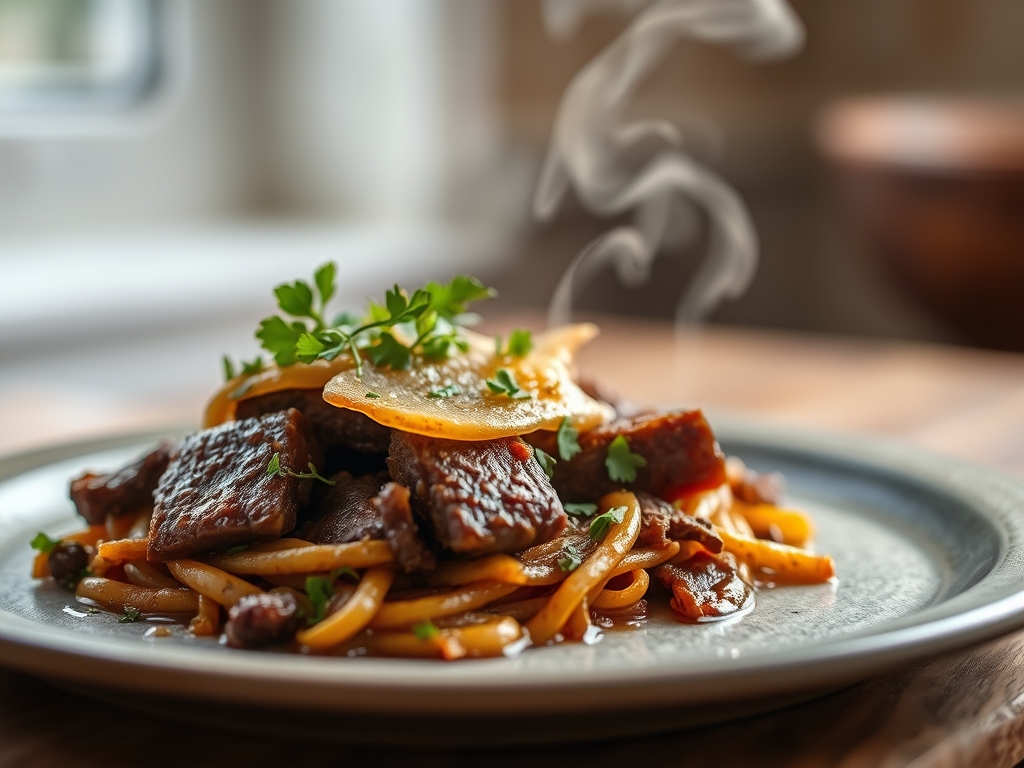
Imagine a pantry staple that bridges the gap between vintage Americana and modern culinary efficiency. We are talking about that iconic, silver tin of shelf-stable protein that packs a surprisingly savory punch. Mastering government canned beef recipes is not just about convenience; it is about unlocking the deep, umami potential of pre-cooked, high-pressure sterilized muscle fibers. When you crack that lid, you are met with a rich, gelatinous stock and tender beef that is ready to be transformed from a humble ration into a five-star masterpiece.
The secret lies in the texture. Because this beef has already undergone a long thermal process, it possesses a unique, shreddable quality that absorbs flavors like a culinary sponge. Whether you are aiming for a piquant ragu or a crispy hash, the goal is to manipulate the existing moisture and introduce high-heat techniques to create contrast. We are going to treat this ingredient with the respect it deserves, using professional tools and scientific precision to ensure every bite is succulent, savory, and sophisticated. Forget what you think you know about "canned food." We are about to elevate this pantry hero into nine distinct, mouthwatering iterations that will make your heavy-bottomed skillet the hardest working tool in your kitchen.
The Gathers:
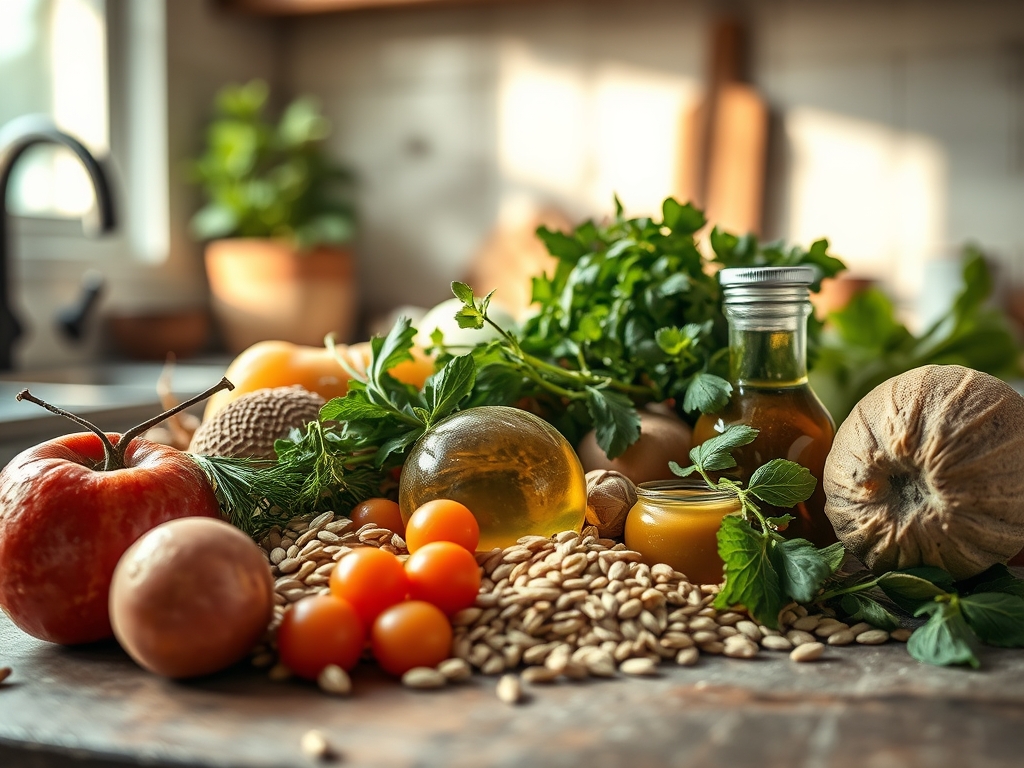
To begin our journey, we must organize our mise-en-place with the precision of a laboratory. The primary component is, of course, the canned beef. You will notice a layer of tallow and a viscous, protein-rich liquid surrounding the meat. Do not discard this! This liquid is a concentrated stock filled with dissolved collagen, which provides a luxurious mouthfeel when reduced.
You will need aromatics: yellow onions for sweetness, garlic for depth, and perhaps a bulb of fennel if you want to get fancy. For tools, gather a microplane for zesting citrus or grating hard cheeses, a bench scraper to move your chopped aromatics cleanly, and a saucier for any liquid-heavy reductions.
Smart Substitutions:
If you find the natural salt content of the beef to be high, balance it with an acid like apple cider vinegar or a splash of dry white wine. If you are out of fresh onions, a tablespoon of shallot confit or even high-quality onion powder can provide that essential sulfurous backbone. For a kick of heat, swap standard black pepper for crushed Aleppo pepper to add a fruity, smoky dimension.
The Clock:
Efficiency is the hallmark of a professional kitchen. The "Chef's Flow" for these recipes focuses on simultaneous tasks. Total preparation time generally clocks in at 10 minutes, with active cooking time ranging from 15 to 30 minutes depending on the desired level of Maillard reaction (browning).
Start by rendering any fats first. While the fat liquefies in your skillet, perform your knife work. By the time your onions are translucent, the beef is ready to be integrated. This staggered approach ensures that no ingredient is overcooked, and the flavors have adequate time to infuse without losing their individual integrity.
The Masterclass:
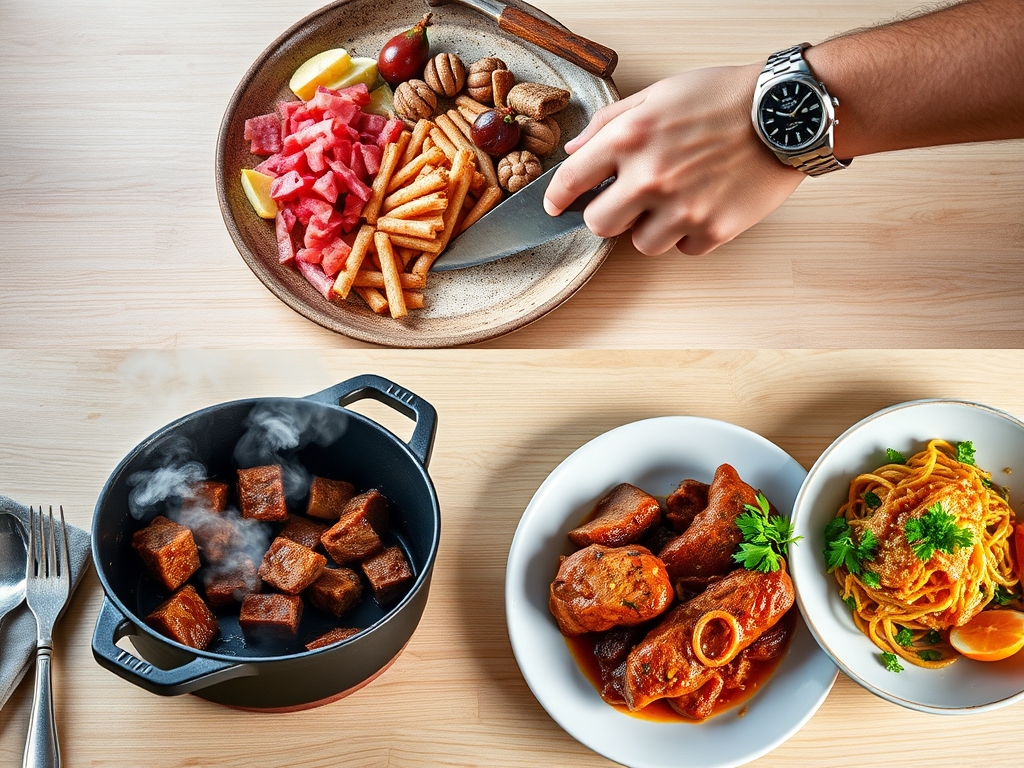
1. The Proper Render
Begin by placing the beef and its surrounding juices into a cold heavy-bottomed skillet. Turn the heat to medium-high. As the pan heats, the fats will melt and the water content will begin to evaporate. This is the foundation for all government canned beef recipes.
Pro Tip: This stage utilizes evaporative cooling. The temperature of the meat won't rise above 212 degrees Fahrenheit until the water is gone. Once the "hissing" sound turns into a "sizzle," you know the water has evaporated and browning can begin.
2. Achieving the Maillard Reaction
Once the liquid is gone, spread the beef in a single layer. Do not move it. Let the proteins react with the residual sugars in the meat to create a deep brown crust. Use tongs to flip the larger chunks once a golden hue appears.
Pro Tip: This is enzymatic browning. By leaving the meat undisturbed, you allow the amino acids and reducing sugars to rearrange into hundreds of flavor compounds, adding complexity that canned meat lacks straight out of the tin.
3. Deglazing the Fond
As the beef browns, it will leave behind a "fond," or flavorful brown bits, on the bottom of the pan. Pour in a half-cup of beef stock, wine, or even water. Use a wooden spoon to scrape these bits back into the mix.
Pro Tip: Deglazing is a chemical process that recovers scorched proteins. The liquid acts as a solvent, pulling the concentrated flavor back into the bulk of the dish, ensuring no "umami" is wasted.
4. Aerating the Sauce
If you are making a gravy or a sauce-based dish, whisk in a knob of cold butter or a splash of heavy cream at the very end. Use a vigorous motion to aerate the sauce, creating a light, velvety emulsion.
Pro Tip: This is known as mounting with butter (monter au beurre). The cold fat creates a stable emulsion with the warm liquid, resulting in a glossy finish and a rounded flavor profile.
5. The Final Rest
Remove the pan from the heat and let the beef sit for three minutes before serving. This allows the internal fibers to relax and reabsorb any remaining juices.
Pro Tip: This accounts for thermal carryover. Even after leaving the heat source, the internal temperature continues to rise slightly, ensuring the fats are fully liquefied and the texture is perfectly succulent.
The Deep Dive:
Macro Nutrition:
Government canned beef is a protein powerhouse. A standard serving typically offers 15-20 grams of protein with zero carbohydrates, making it an excellent base for various dietary needs. It is rich in iron and B-vitamins, though it can be high in sodium.
Dietary Swaps:
- Keto: Serve the browned beef over cauliflower rice or sautéed spinach. The natural fats in the beef make it a perfect high-fat, low-carb option.
- Gluten-Free: Use cornstarch or arrowroot powder instead of flour if you are thickening a stew.
- Vegan/Vegetarian: While this specific ingredient is meat-based, you can apply these same "browning and deglazing" techniques to canned jackfruit or mushrooms to mimic the texture.
The Fix-It:
- Too Salty? Add a peeled potato to the simmer; it acts as a molecular sponge for excess salt. Alternatively, add a teaspoon of honey to balance the palate.
- Too Mushy? You likely skipped the "Render" step. Spread the meat on a baking sheet and broil for 4 minutes to crisp the exterior.
- Too Greasy? Use a bulb baster to remove excess liquid fat, or blot the browned beef with a paper towel before adding your aromatics.
Meal Prep:
When reheating, the goal is to prevent the meat from becoming "stringy." Use a microwave-safe dish and add a tablespoon of water or stock before covering. This creates a steam chamber, using latent heat to warm the beef without drying out the delicate fibers.
The Wrap-Up:
There you have it! You are now equipped to turn a humble can of beef into a culinary triumph. By focusing on the science of the sear and the art of the emulsion, you have transformed a pantry staple into a gourmet experience. Whether you are whipping up a quick Tuesday night dinner or prepping for a week of high-protein lunches, these techniques ensure your government canned beef recipes are always the star of the show. Now, grab your saucier, fire up the range, and let your kitchen become a theater of flavor!
The Kitchen Table:
How do I make canned beef taste better?
The key is the Maillard reaction. Sauté the beef in a hot skillet until it develops a brown, crispy crust. This adds a complex, toasted flavor that balances the metallic notes of the canning process.
Is government canned beef already cooked?
Yes, it is fully cooked via high-pressure canning. This makes it safe to eat straight from the tin, but heating it allows you to render the fats and improve the overall texture and aroma.
Can I freeze leftover canned beef?
Absolutely. Store leftovers in an airtight container for up to three months. When thawing, do so in the refrigerator to maintain the structural integrity of the meat fibers and prevent bacterial growth.
What is the white stuff in canned beef?
That is simply rendered beef tallow (fat) and solidified gelatin from the connective tissues. It is completely edible and contains massive amounts of flavor; use it as your cooking oil for the dish!